

Recipe
Kimchi Cheese Rice Balls
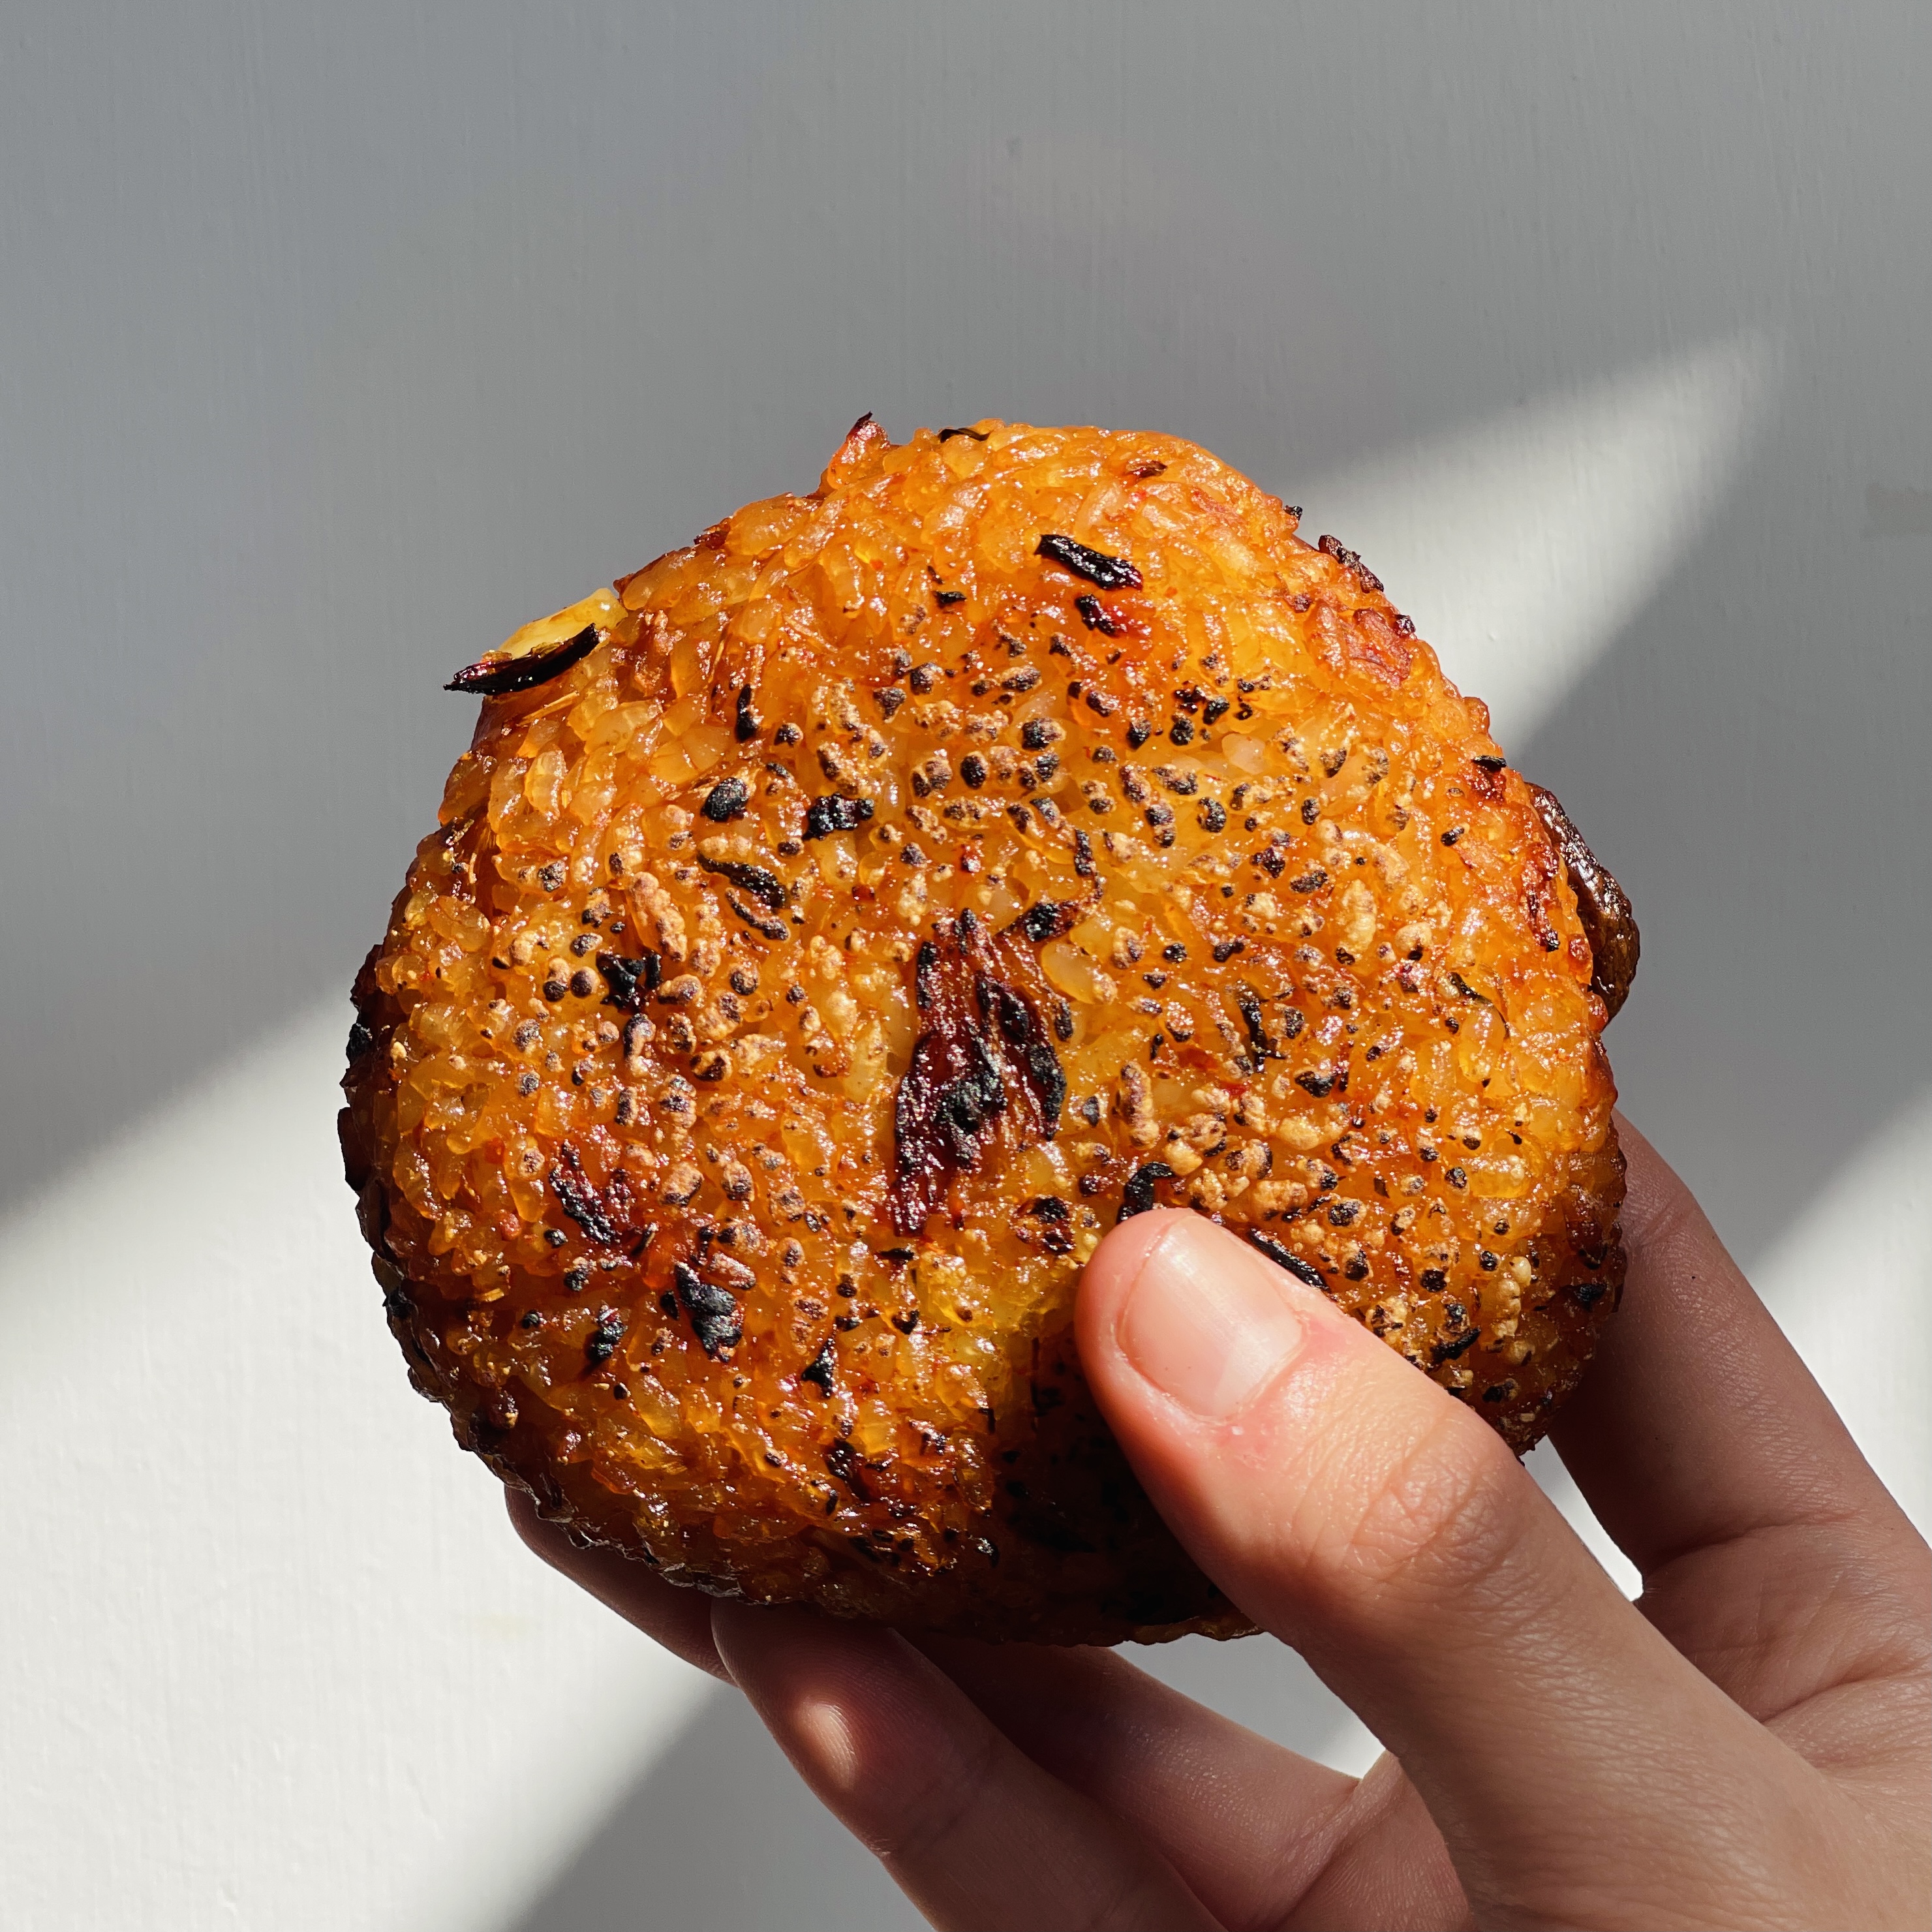
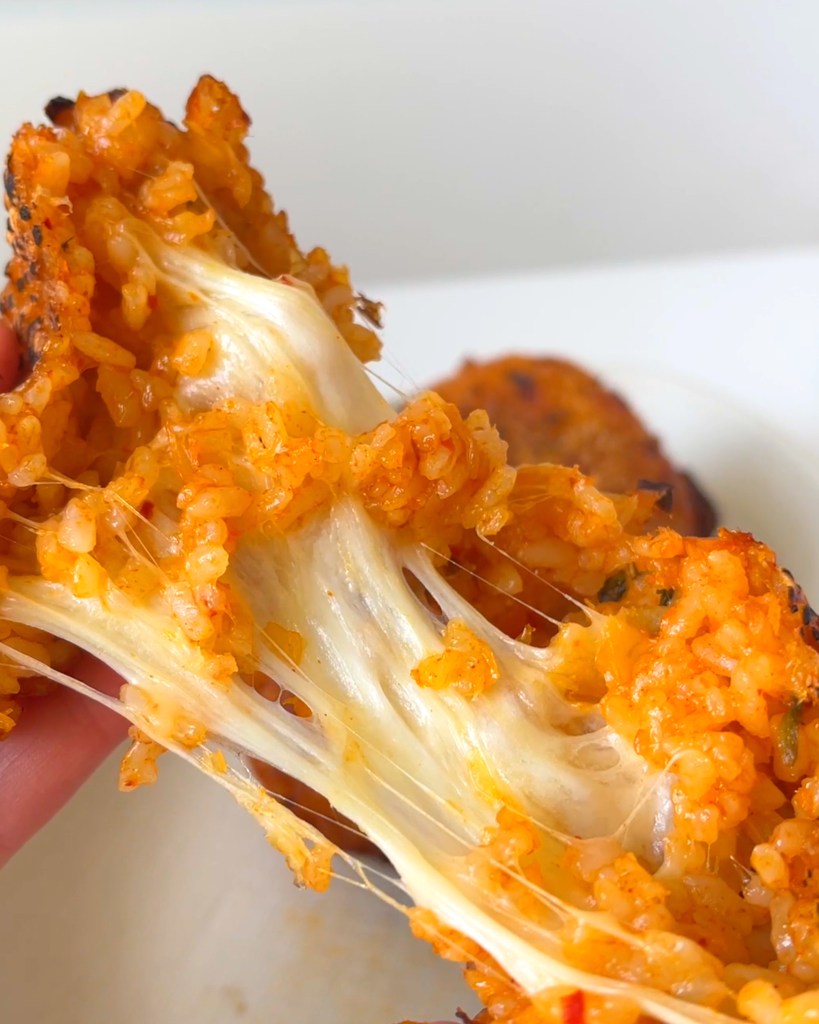
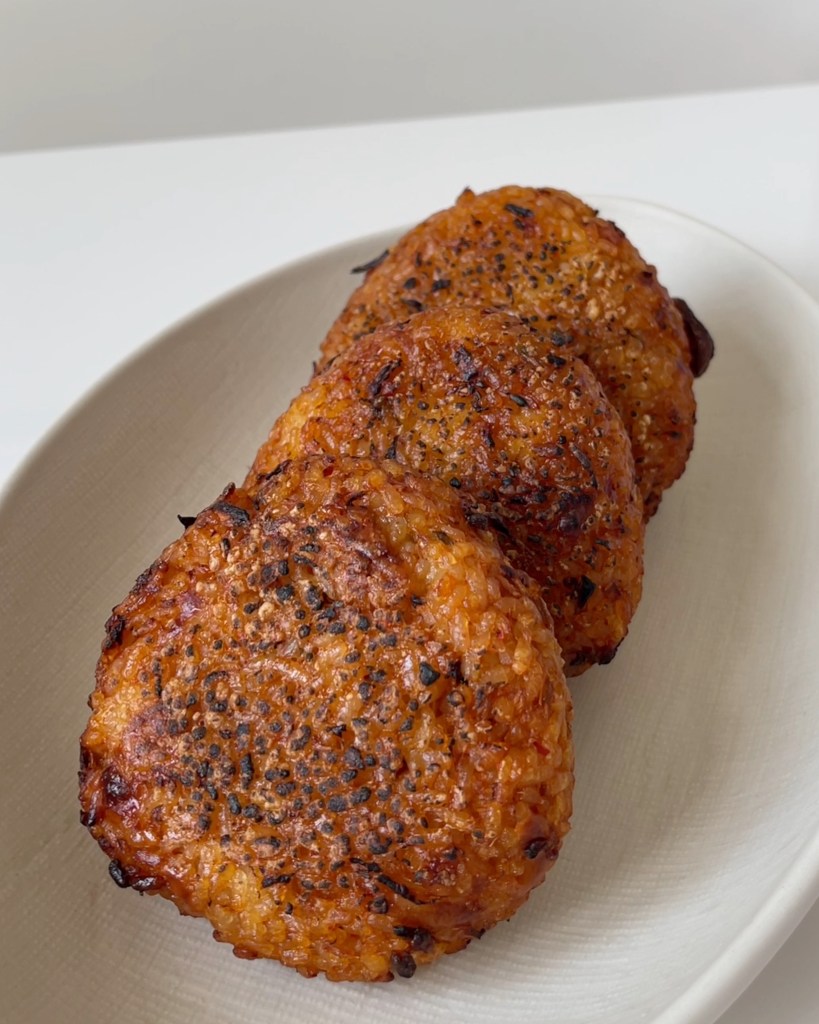
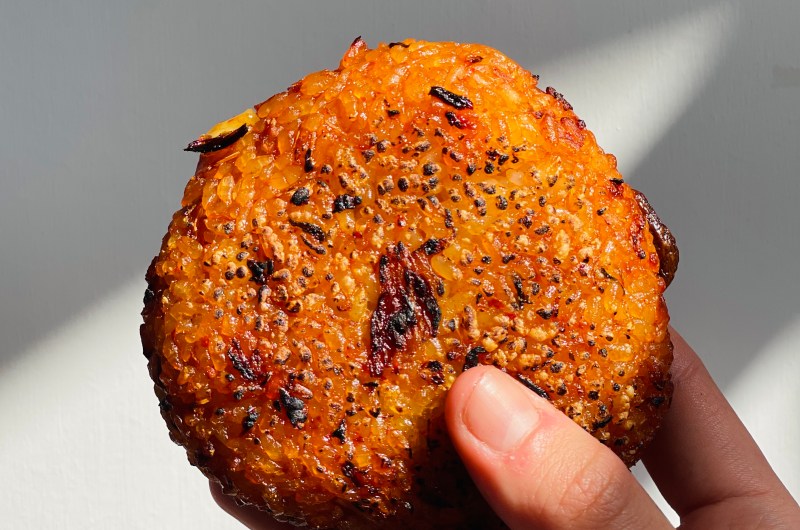
Recreating one of my favorite Korean frozen foods from Costco, Bibigo's Kimchi Cheese Rice Balls. Crispy on the outside and cheesy on the inside.
Written by Doobydobap
Kimchi Cheese Rice Balls
Kimchi Cheese Rice Balls from @bibigo is what I always get when I go to Costco in Korea. Side note, Costco Korea is amazing, it’s filled with ready-made food and ingredients that appeal to the Korean audience and is totally different from American Costco.
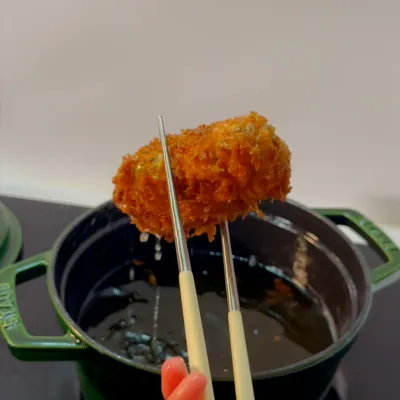
I’m usually not a huge fan of ready-made frozen foods, but this is one of the few things that I cannot resist. They’re usually individually packaged and you can microwave it or put it in an air fryer for a crispy burnt-rice like exterior.
I’ve actually tried recreating this recipe a few times. However, unlike onigiri, since these have to be cooked once more, it had to be solid enough to hold up to the grilling/air frying but also not be too dense for the cheese inside to melt. I wanted to also make sure that they could be frozen and reheated, so it took several tries to get the recipe I was happy with. Anyways, I hope you enjoy them!

Ingredients
2 cups cooked short grain rice (aka sushi rice)
1 cup kimchi, finely chopped (I like to use a food processor or scissors to finely chop my kimchi as it tends to stain cutting boards)
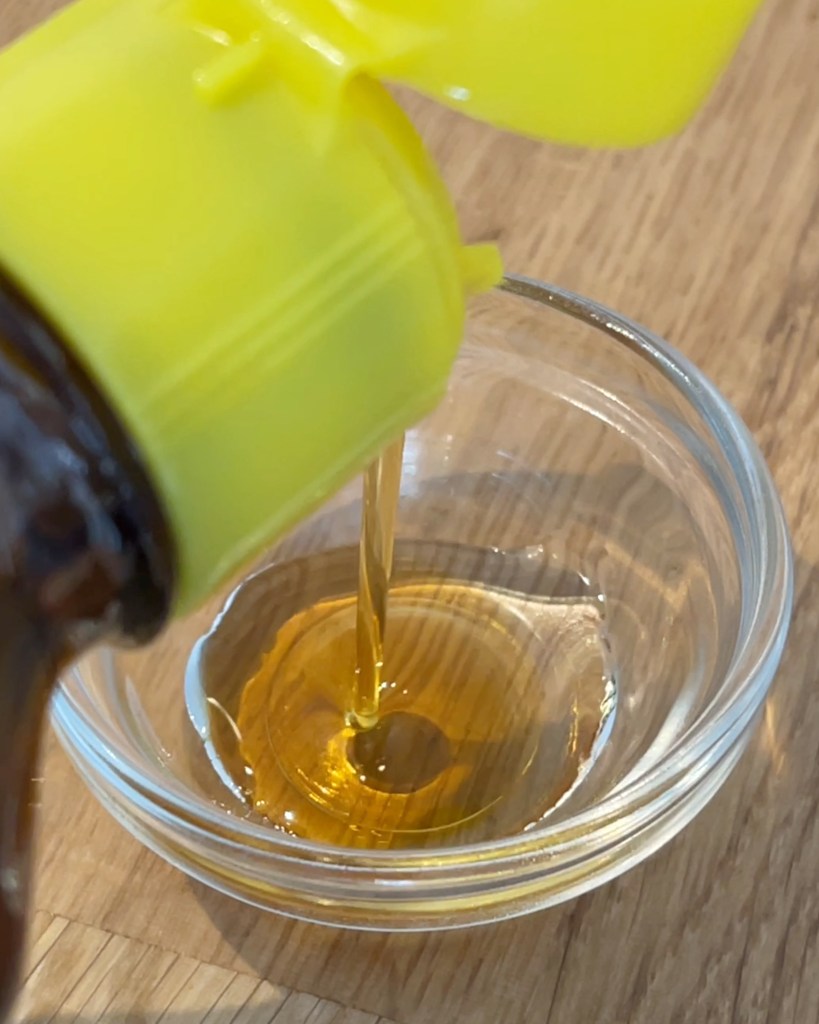
1 tsp sesame oil
1 tsp gochujang
2 tsp honey
1 tsp light soy sauce
1 tsp dark soy sauce (optional, mostly there for the color. Can substitute with light soy sauce)
½ cup shredded low moisture mozzarella (make sure to thaw it out if frozen)
Directions
Preheat your oven to 200C / 400F. For air fryer skip the preheating process.
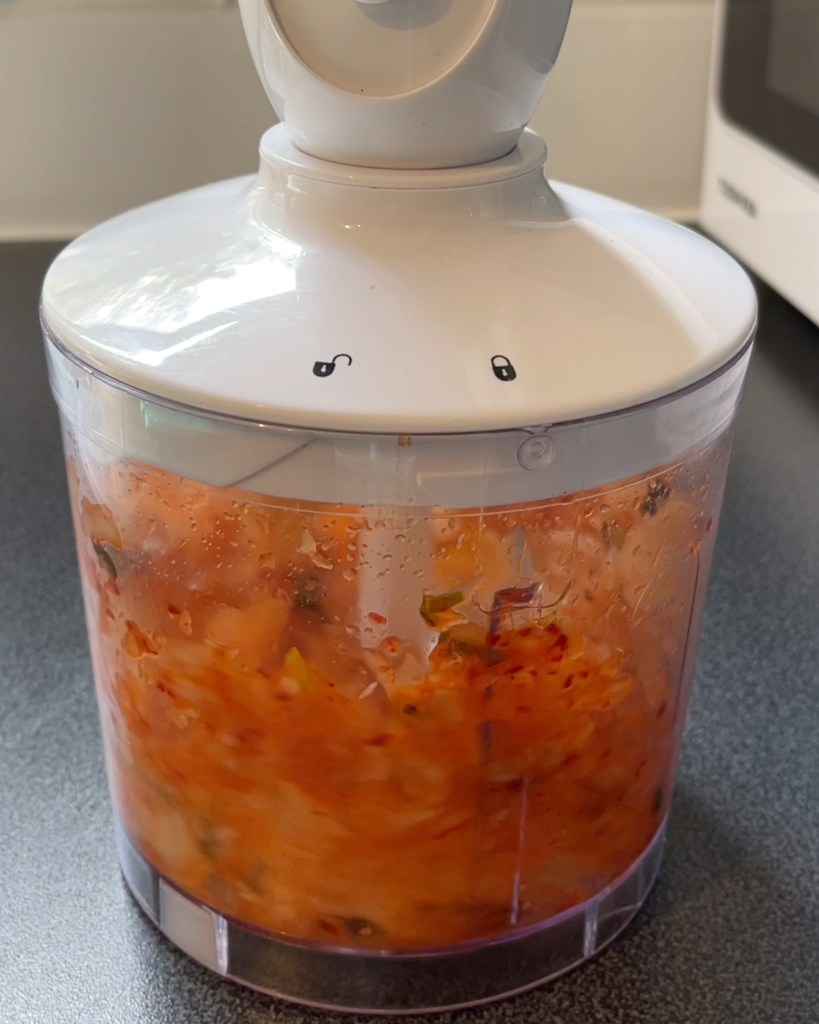
Pulse your kimchi in a food processor until a fine chop.
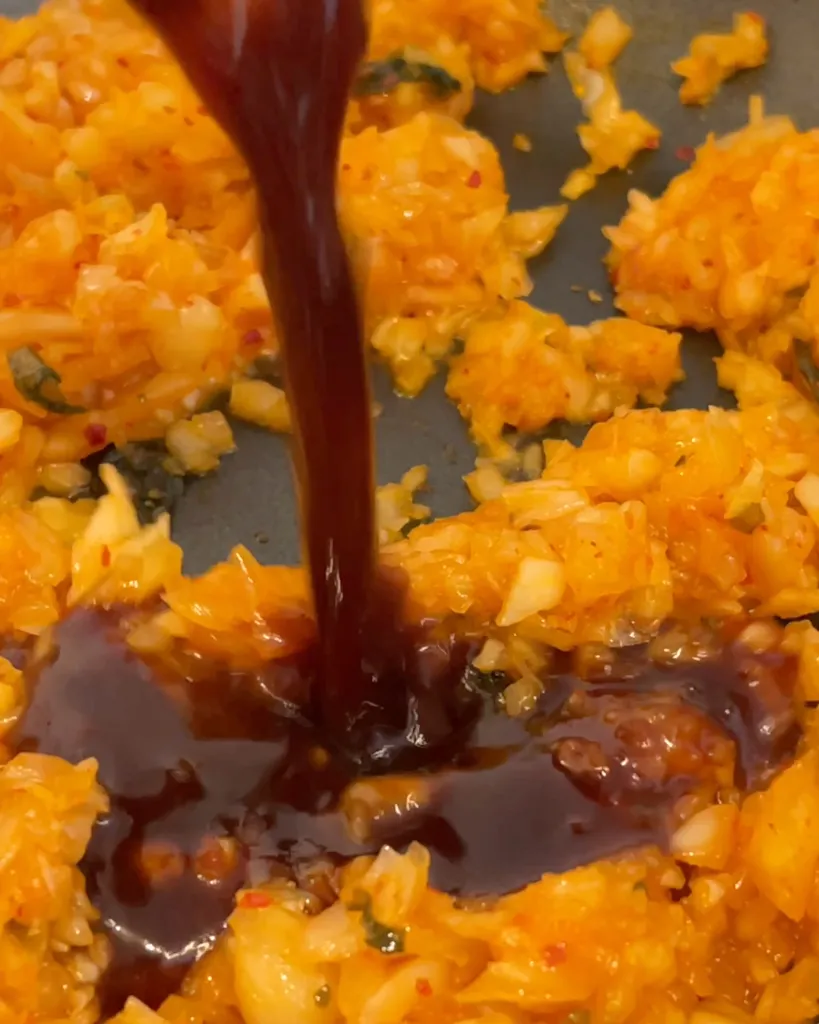
Prepare the sauce. Mix gochujang, honey, light soy sauce, and dark soy sauce. This sauce is to season the rice and to give the rice balls a nice red color.
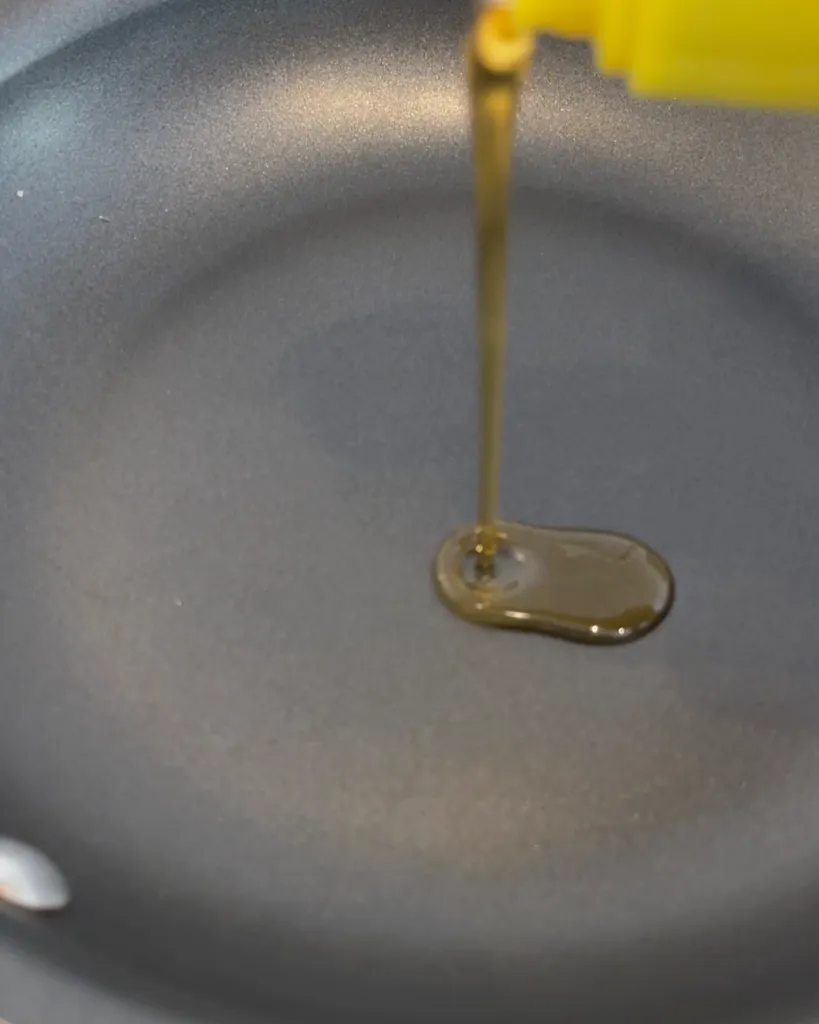
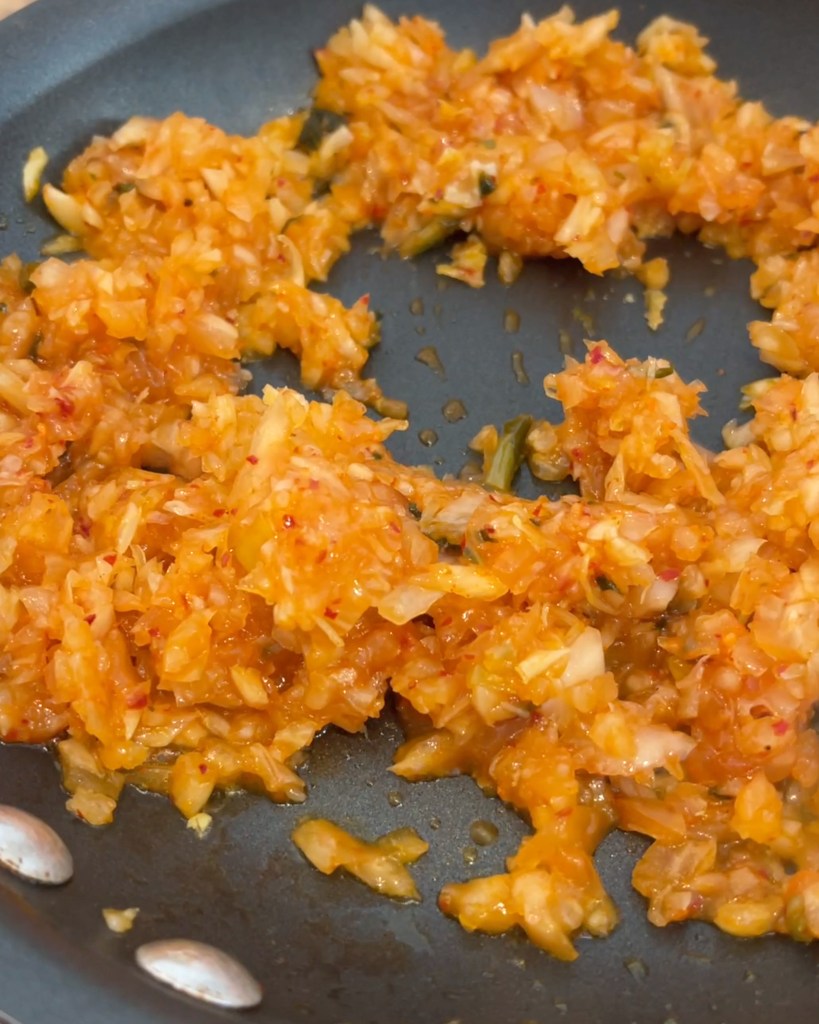
In a nonstick pan, drizzle in the sesame oil. Heat the pan on medium heat and add your pulsed kimchi.
Cook out the kimchi for 3-4 minutes until most of the moisture has evaporated. It’s important to make sure that the kimchi mixture is not too wet or it will make the rice balls fall apart.
Once the kimchi has cooked out, add the prepared sauce.
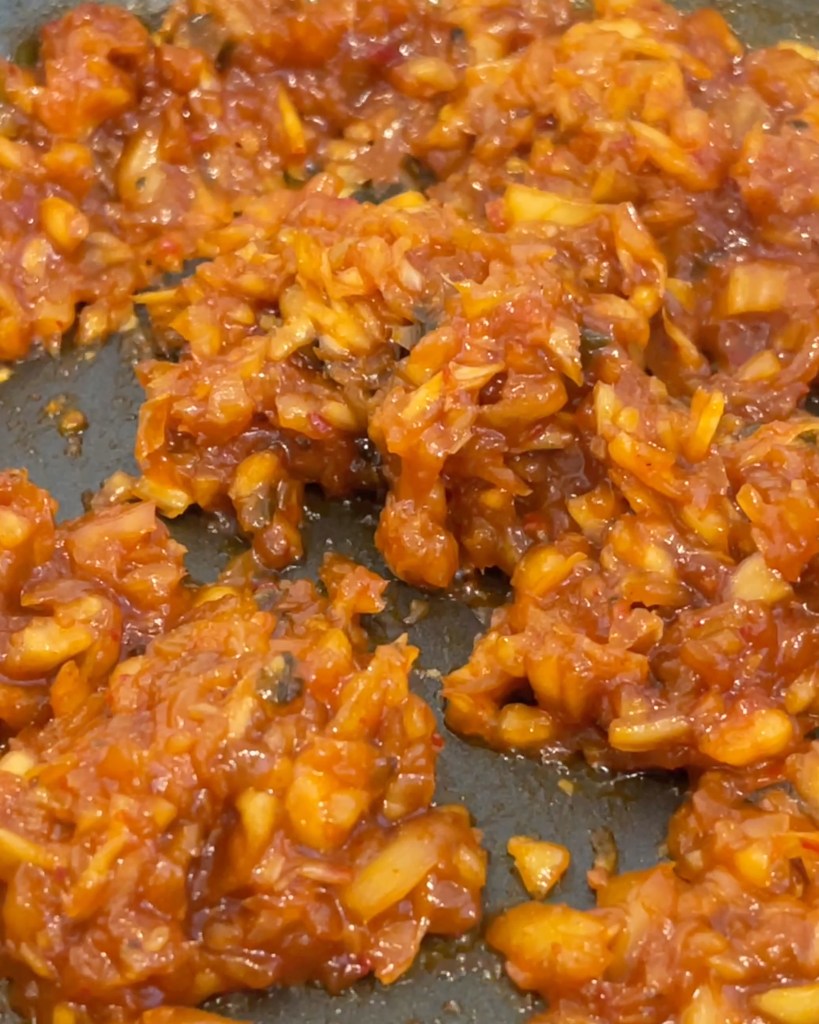
Cook the sauce and the kimchi until the sauce has thickened, for additional 3-4 minutes.
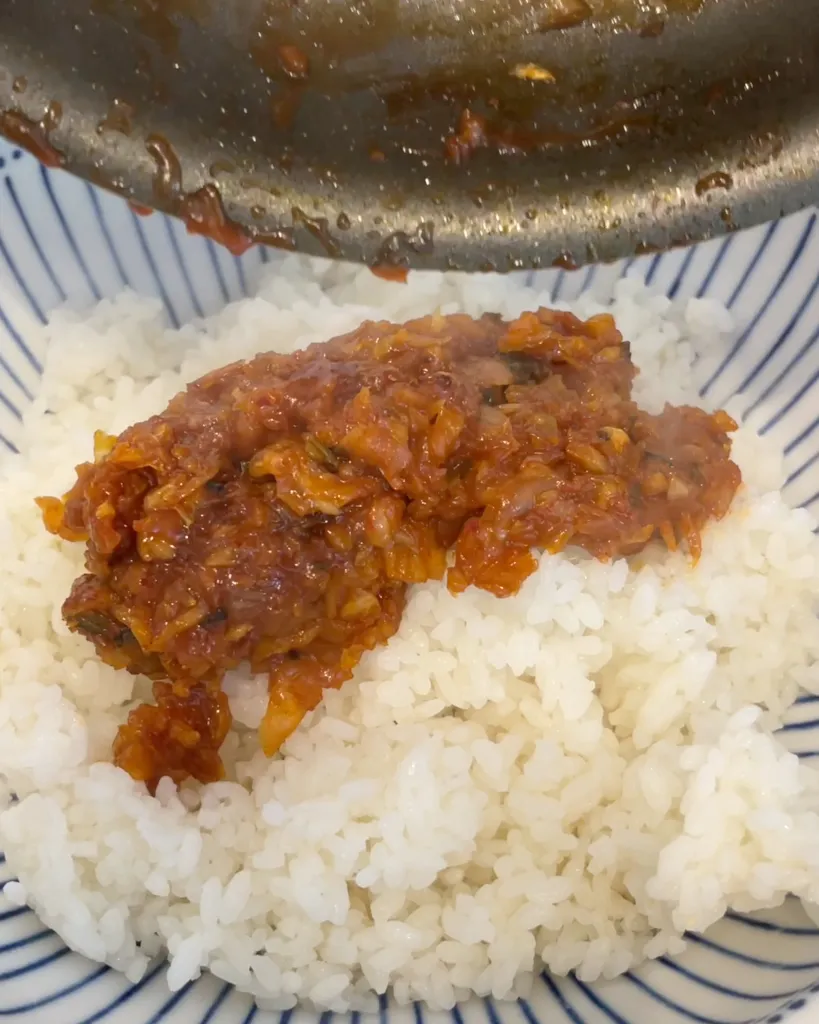
Add the fillings to the rice. If the rice is freshly made, make sure to cool it down to room temperature so that some of the moisture has evaporated. Mix.
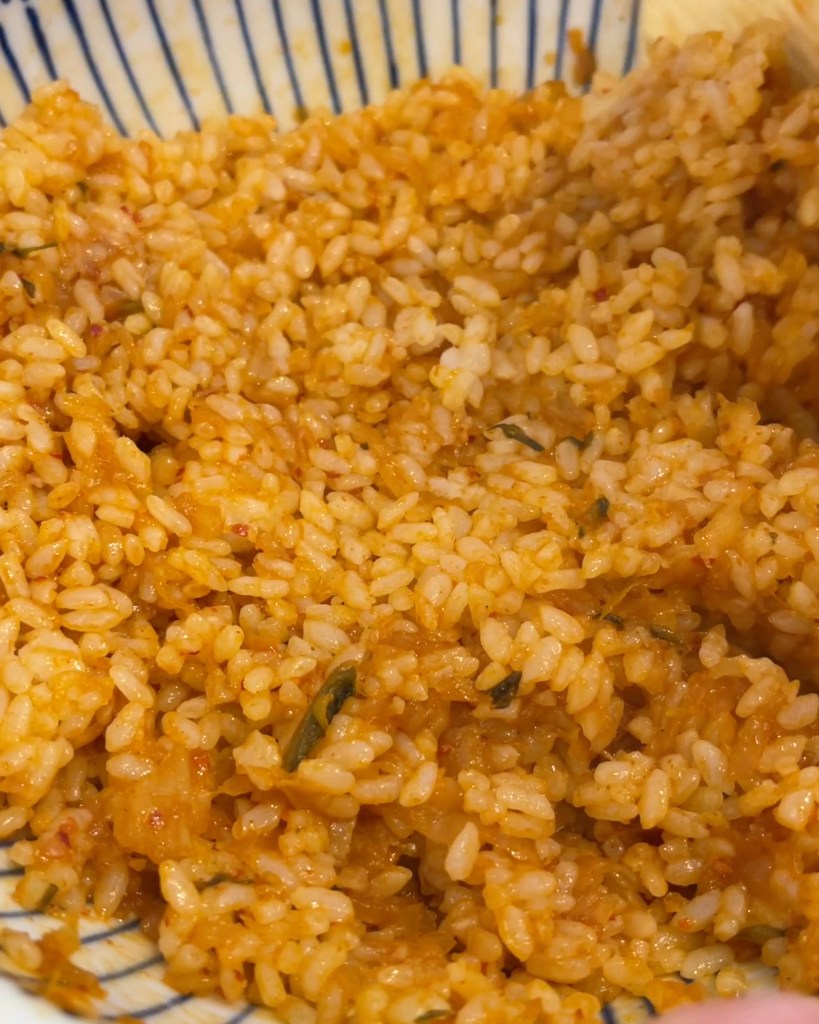
Taste the rice mixture. Depending on the brand of kimchi / your preference, add more salt if needed.
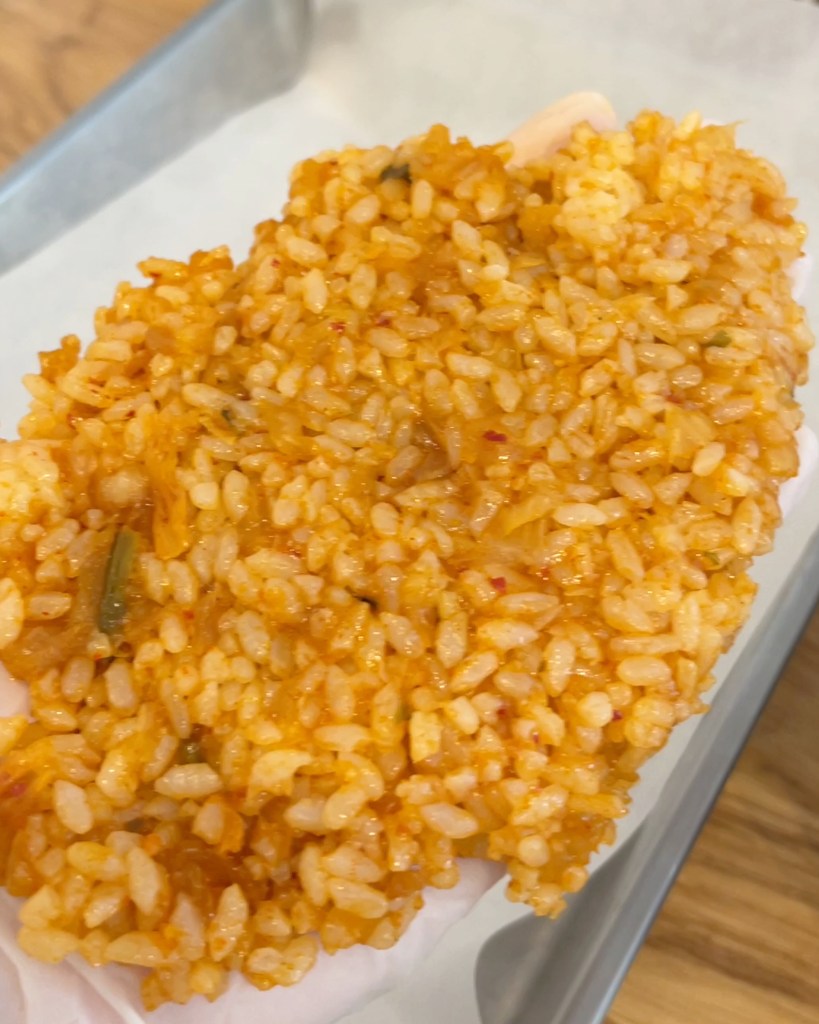
Scoop out ⅓ cup of the rice and lay it flat on your hands. I recommend using gloves as it can get a little messy, but if not, slightly wet your hands in water so that the rice does not stick.
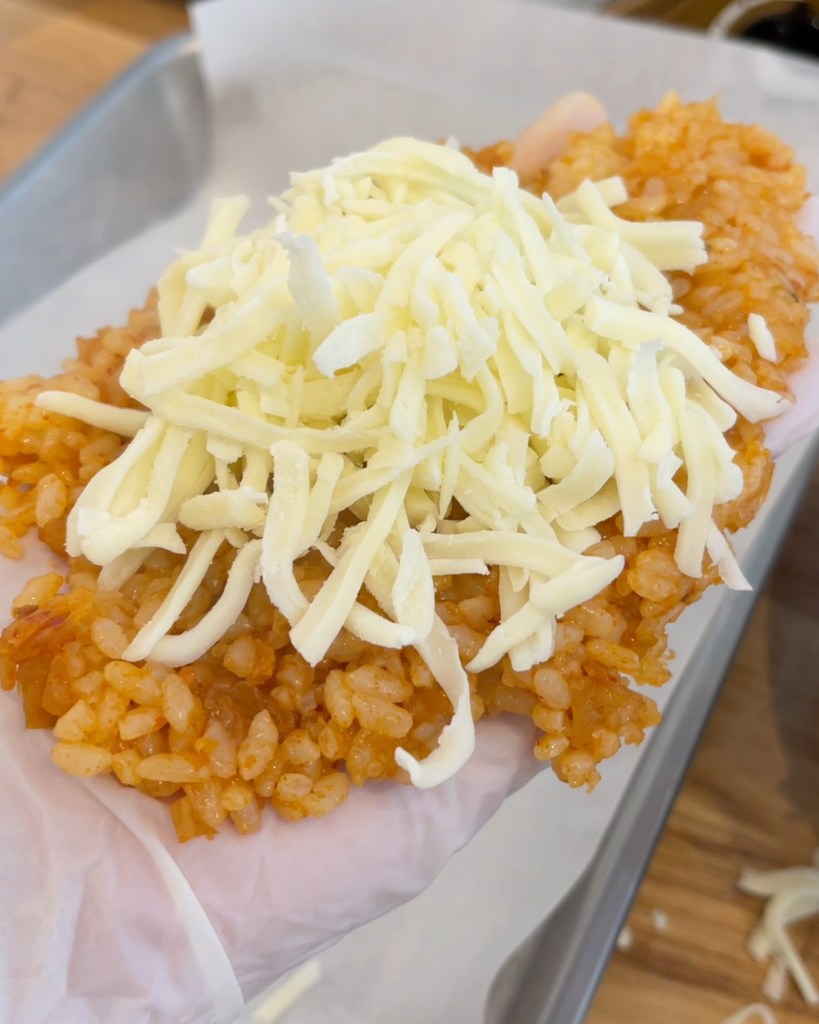
Add a tablespoon of mozzarella in the center.
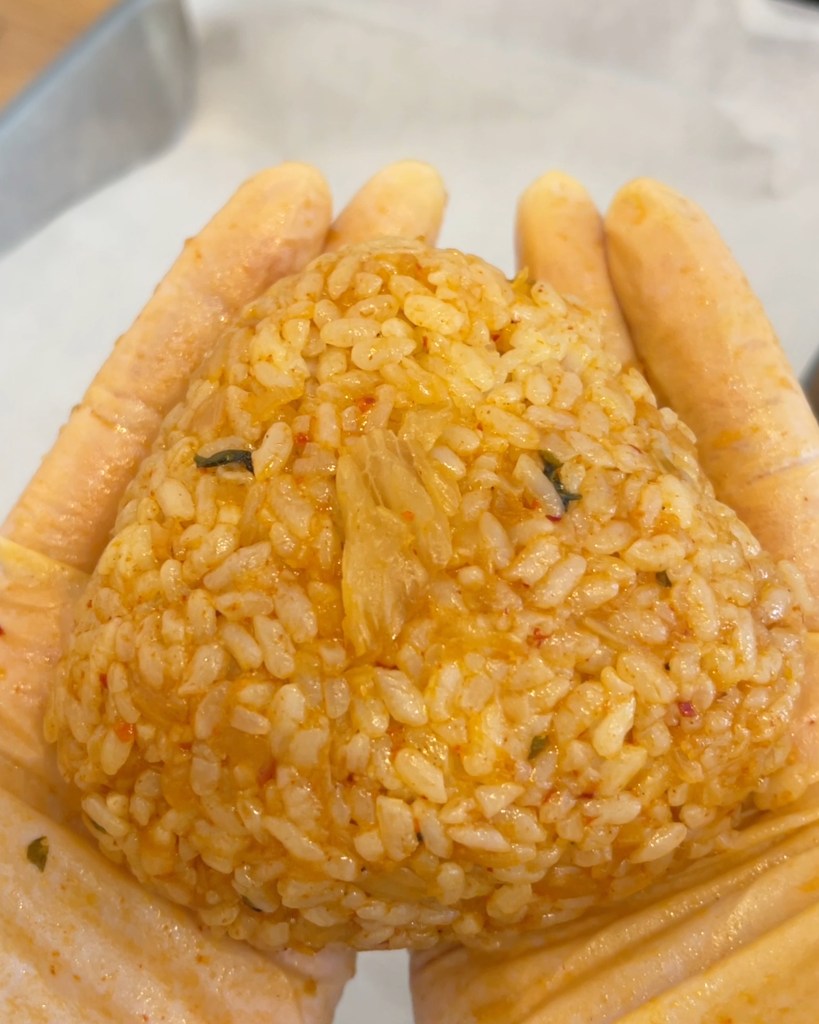
Put additional rice on top to help form the ball.
Bring the sides together and roll into a sphere. Then, slowly shape the rice to your desired shape.

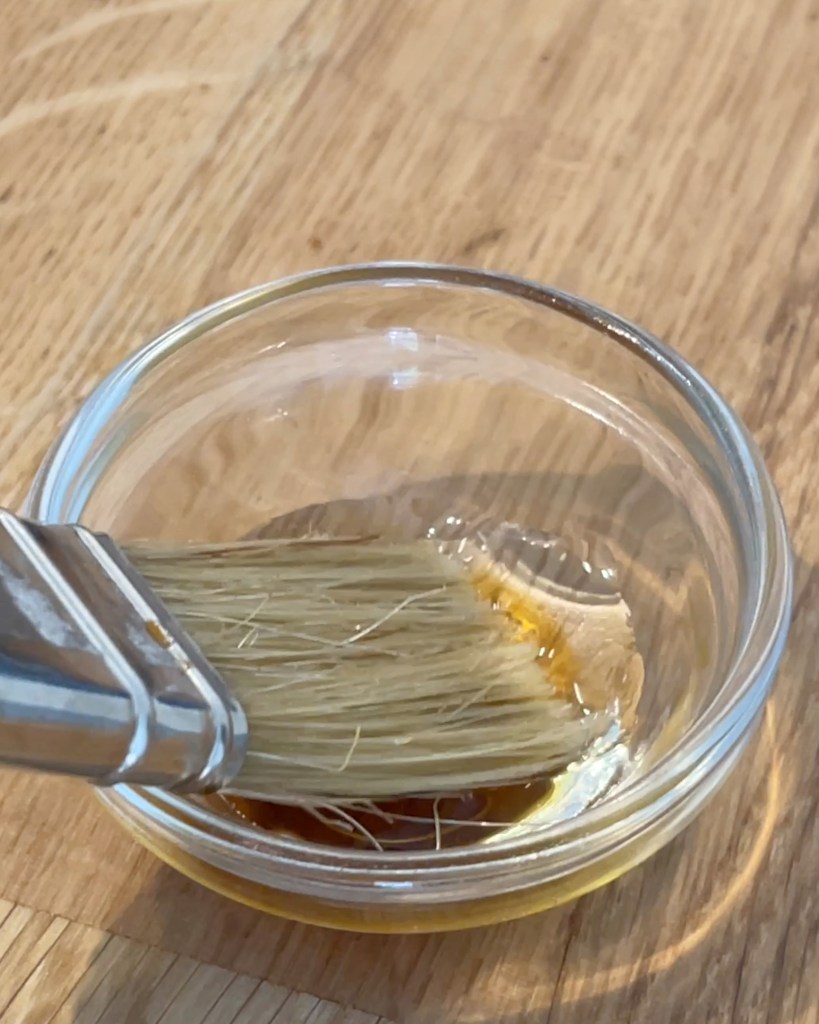
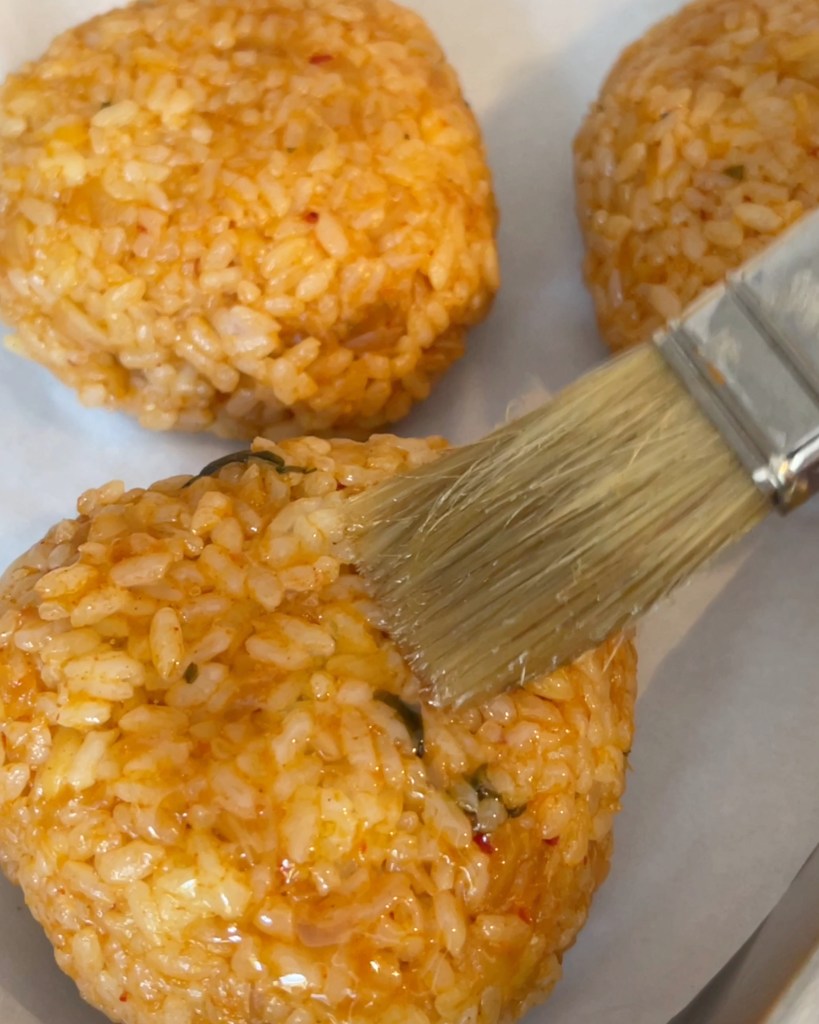
Place the rice balls on parchment paper on a baking tray. Brush on sesame oil on the top for a golden crispy top. You can also individually wrap them and put in the freezer. These freeze extremely well and can be microwaved for a quick snack. I microwave these for about 3 minutes / air fry them at 400F for 30 minutes from when they’re frozen.
For ovens, bake for 20 minutes on each side, for a total of 40 minutes. For an even crispier top, broil it for 30 seconds on each sides so that the rice puffs up like and for the extra crunch.
For air fryers, bake for 20 minutes at 400F. For an even crispier finish, crank the heat to maximum with an extra brushing of oil.
Enjoy!

Kimchi Cheese Rice Balls
Course: Snacks, Late Night, Freezer, AirfryerCuisine: Korean, FusionDifficulty: Easy4
servings20
minutes40
minutesRecreating one of my favorite Korean frozen foods from Costco, kimchi cheese rice balls. Crispy on the outside and cheesy on the inside.
Ingredients
2 cups cooked short grain rice (aka sushi rice)
1 cup kimchi, finely chopped (I like to use a food processor or scissors to finely chop my kimchi as it tends to stain cutting boards)
1 tsp sesame oil
1 tsp gochujang
2 tsp honey
1 tsp light soy sauce
1 tsp dark soy sauce (optional, mostly there for the color. Can substitute with light soy sauce)
½ cup shredded low moisture mozzarella (make sure to thaw it out if frozen)
instructions
- Preheat your oven to 200C / 400F. For air fryer skip the preheating process.
- Pulse your kimchi in a food processor until a fine chop.
- Prepare the sauce. Mix gochujang, honey, light soy sauce, and dark soy sauce. This sauce is to season the rice and to give the rice balls a nice red color.
- In a nonstick pan, drizzle in the sesame oil. Heat the pan on medium heat and add your pulsed kimchi.
- Cook out the kimchi for 3-4 minutes until most of the moisture has evaporated. It’s important to make sure that the kimchi mixture is not too wet or it will make the rice balls fall apart.
- Once the kimchi has cooked out, add the prepared sauce.
- Cook the sauce and the kimchi until the sauce has thickened, for additional 3-4 minutes.
- Add the fillings to the rice. If the rice is freshly made, make sure to cool it down to room temperature so that some of the moisture has evaporated. Mix.
- Taste the rice mixture. Depending on the brand of kimchi / your preference, add more salt if needed.
- Scoop out ⅓ cup of the rice and lay it flat on your hands. I recommend using gloves as it can get a little messy, but if not, slightly wet your hands in water so that the rice does not stick.
- Add a tablespoon of mozzarella in the center.
- Put additional rice on top to help form the ball.
- Bring the sides together and roll into a sphere. Then, slowly shape the rice to your desired shape.
- Place the rice balls on parchment paper on a baking tray. Brush on sesame oil on the top for a golden crispy top. You can also individually wrap them and put in the freezer. These freeze extremely well and can be microwaved for a quick snack. I microwave these for about 3 minutes / air fry them at 400F for 30 minutes from when they’re frozen.
- For ovens, bake for 20 minutes on each side, for a total of 40 minutes. For an even crispier top, broil it for 30 seconds on each sides so that the rice puffs up like and for the extra crunch.
- For air fryers, bake for 20 minutes at 400F. For an even crispier finish, crank the heat to maximum with an extra brushing of oil.
- Enjoy!
Recipe Video
Notes
- It’s important to make sure that the kimchi mixture is not too wet or it will make the rice balls fall apart.
- These freeze extremely well and can be microwaved for a quick snack. I microwave these for about 3 minutes / air fry them at 400F for 30 minutes from when they’re frozen.
Did you make this recipe?
Tag @doobydobap on Instagram and hashtag it #doobydobap dontyuckmyyum
Like this recipe?
Follow us @doobydobap on Pinterest
Recent recipes
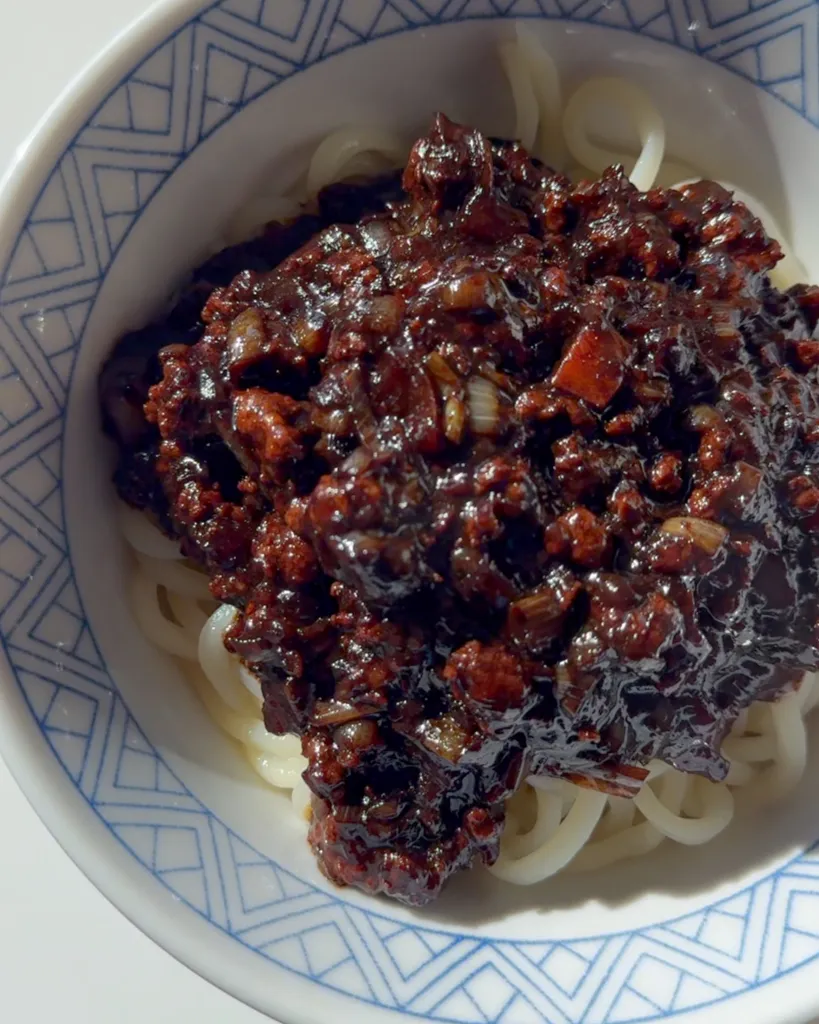
5 Ingredient Jjajang Sauce
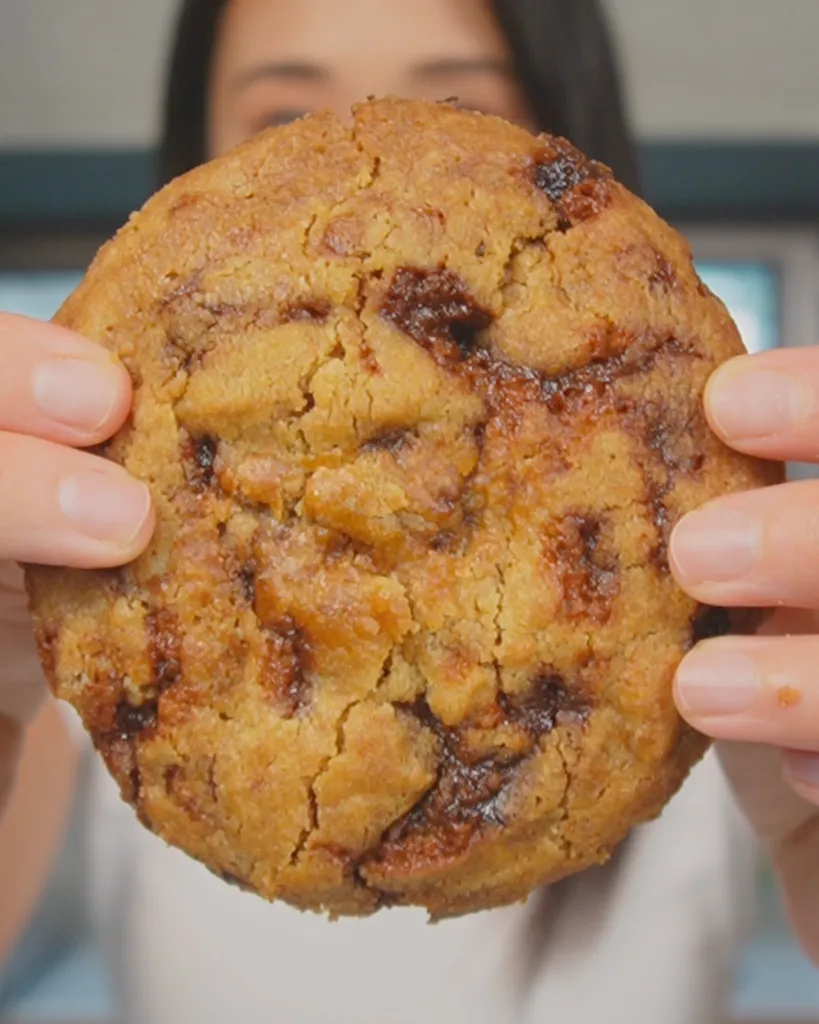
Brown Butter Soy Caramel Cookies

Hi, I’m Tina aka Doobydobap!
Food is my medium to tell stories and connect with people who share the same passion. My recipes are a culmination of my experiences. I hope you enjoy recreating them at home, and if you do, make sure to tag me on Instagram!
Recent recipes
5 Ingredient Jjajang Sauce
Brown Butter Soy Caramel Cookies
Hey Doobies, thanks for visiting! Join my mailing list for more delicious recipes and stories.

Comments