
Recipe
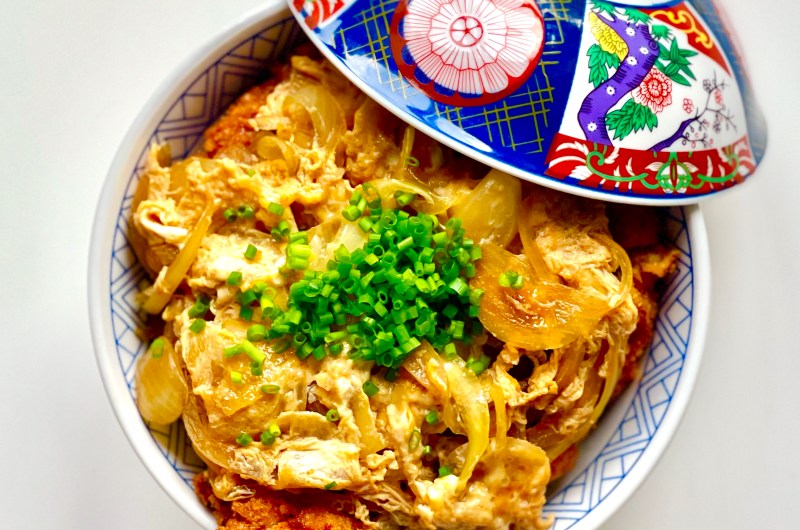
Katsudon
Katsudon that's crispy and juicy at the same time. This recipe has a simple trick that can elevate the dish infinitely.
Written by Doobydobap
Katsudon
I love katsu. However, I was never a huge fan of katsudon. I love oyakodon, with chicken and egg, but I was never a big fan of katsudon because it was always so soggy.
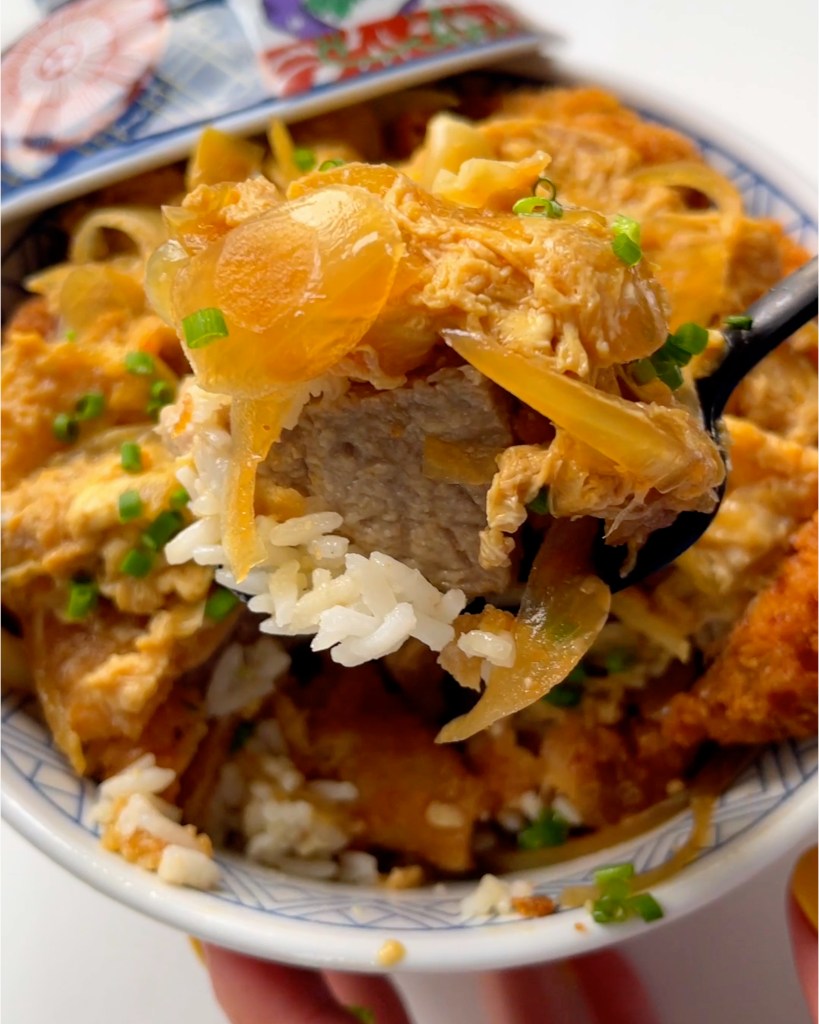
Most recipes call for the sliced katsu to go on top of the sauce and then the egg mixture poured on top. However, it defeats the purpose of deep frying the katsu as everything turns soggy. I love having a bit of textural difference to my katsudon with a bit of crunch still left to it. So this recipe is slightly different because by pouring the sauce on top, the katsu will still retain its crispiness!


Ingredients
2 Pork shoulder/loin steak or filleted chicken breast/thigh (150g)
1 white onion, thinly sliced
1 egg
2 cups cooked white rice
chives for garnish
1 cup AP flour
2 cups panko breadcrumbs
Neutral oil for frying
**Batter**
½ cup AP flour
½ cup water
1 egg
1 tsp salt
**Sauce**
1 cup stock (dashi, chicken, veggie all works!)
2 tbsp sake
2 tbsp mirin
2 tbsp soy sauce
2 tbsp sugar
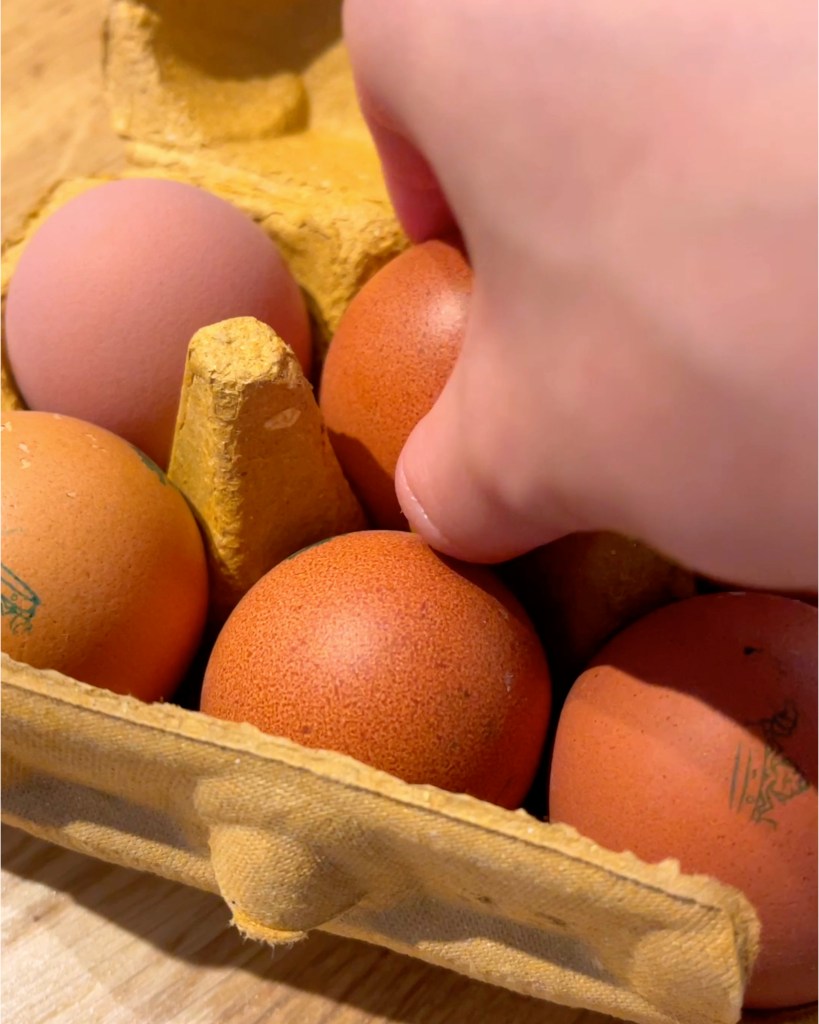
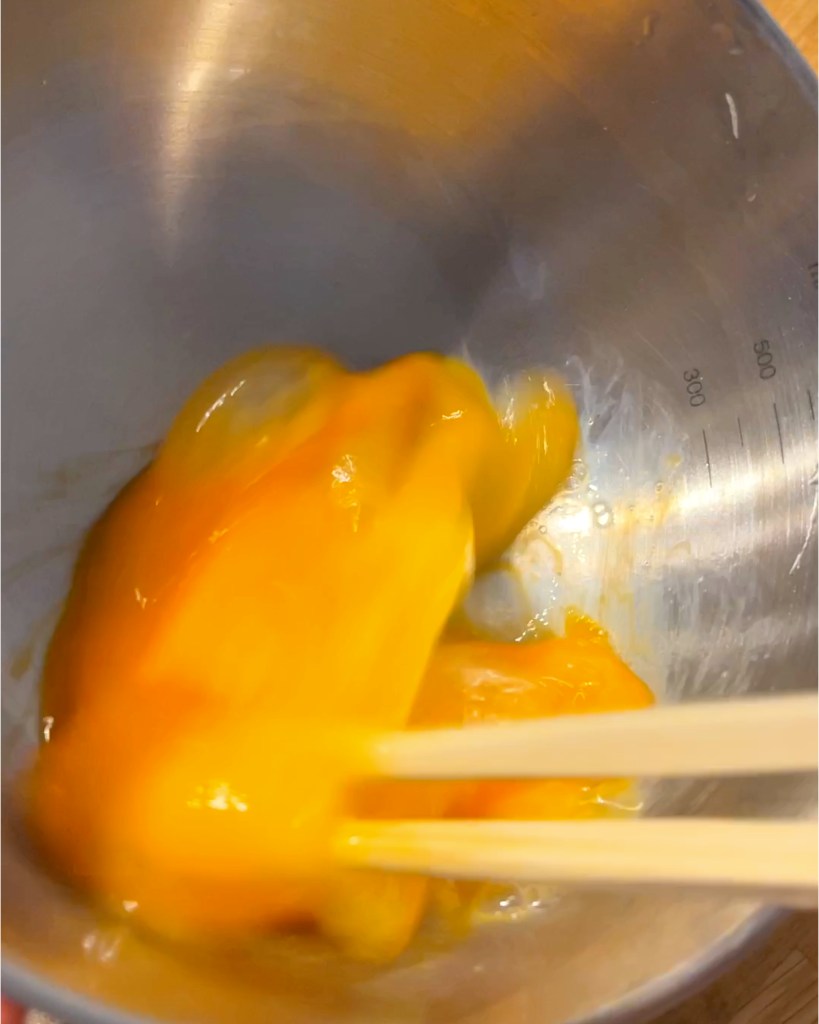
Get high quality free-range brown eggs. I find these to have the most orange yolks that make these eggs look so appetizing!
Directions
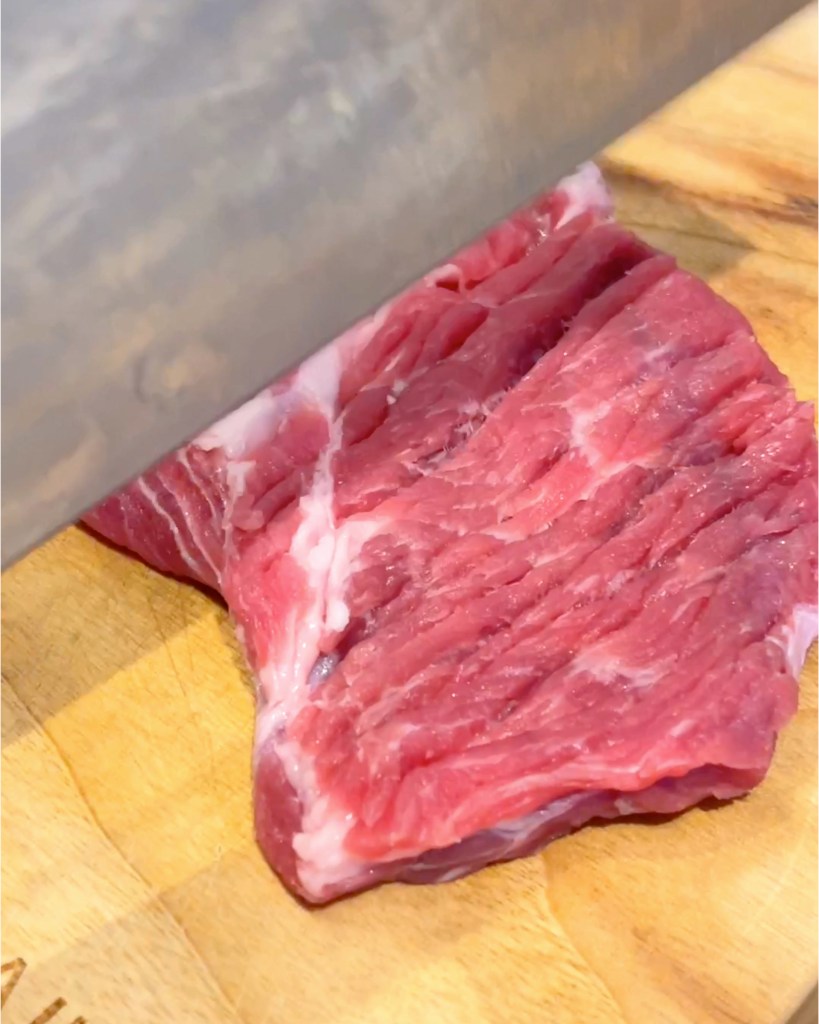
Pat the meat down with a kitchen towel.
Using the back of your knife or a meat hammer, tenderize the meat. Aim for the meat to be in even thickness to ensure that the katsu cooks evenly.
Season the meat with a generous amount of kosher salt and pepper.
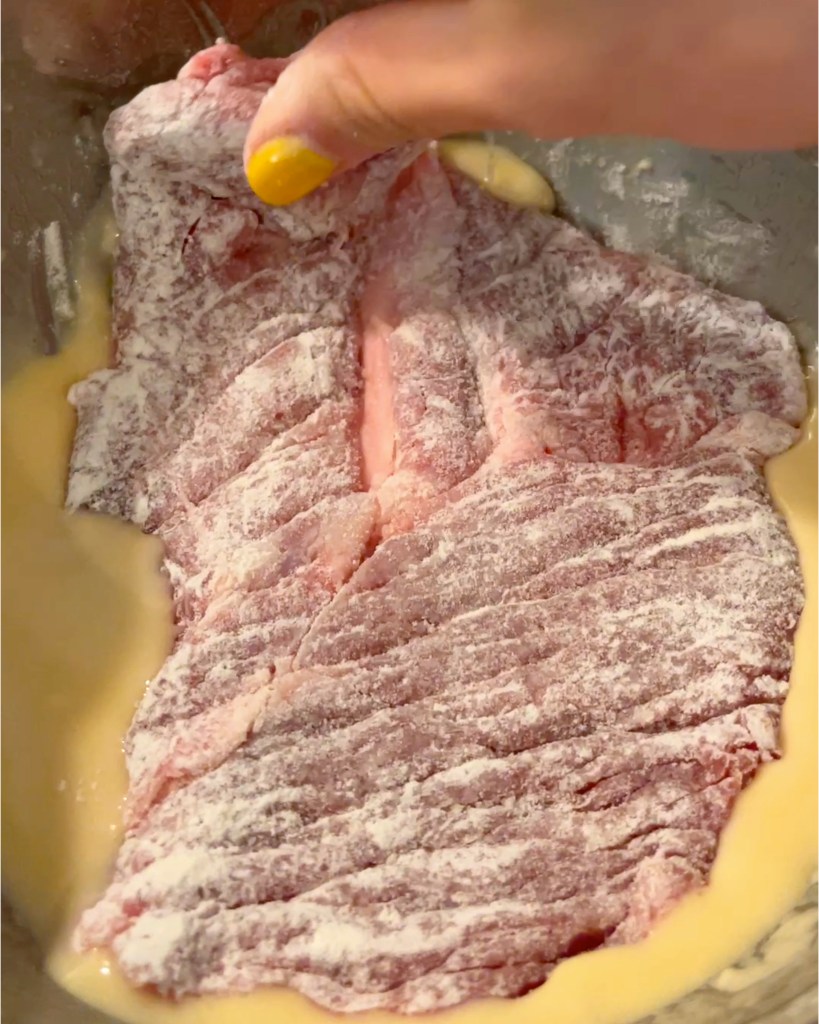
Prepare the assembly line: pour flour into a rimmed baking tray, batter in a bowl, and panko into a baking tray.
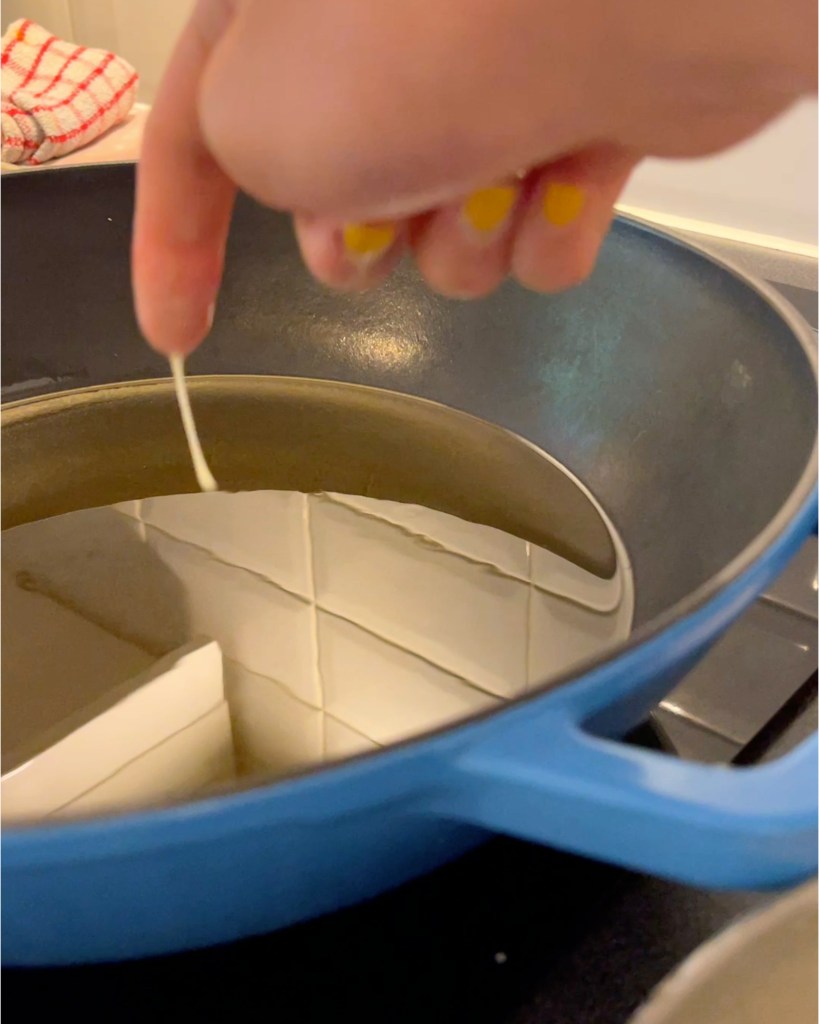
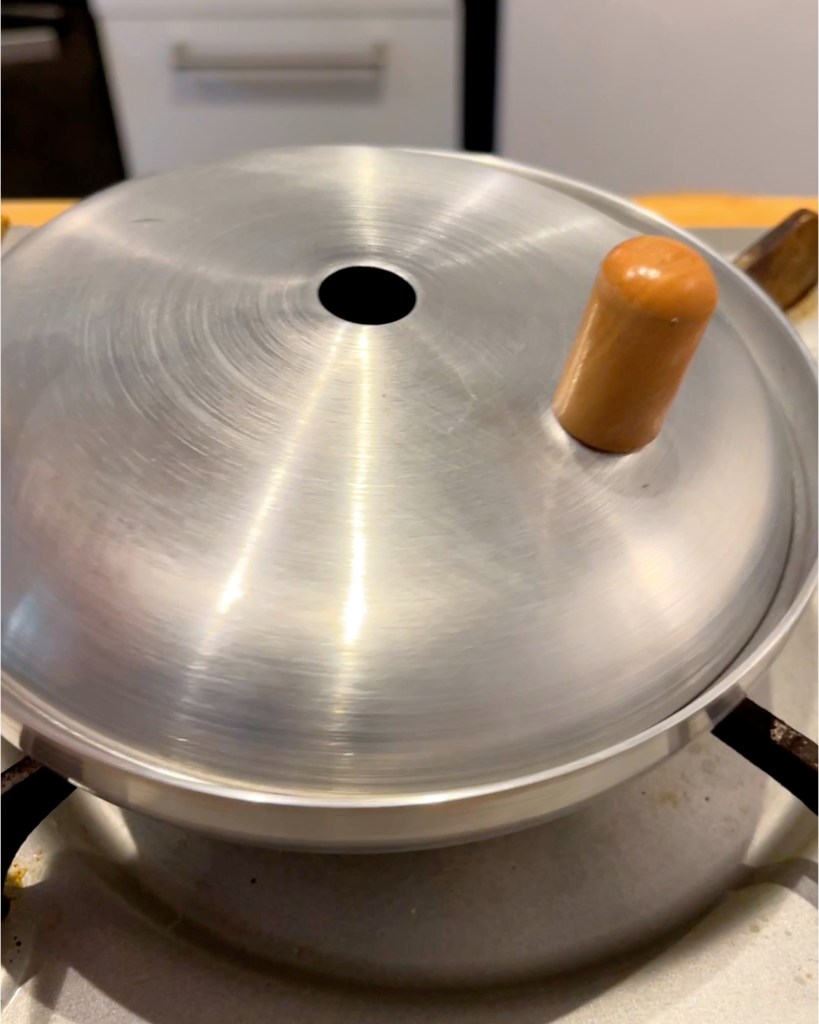
Heat your oil on medium-high heat.
Coat the meat in the flour. Make sure to get every side coated. Dust off any excess flour. (Use right hand)
Drop the floured meat into the batter. Coat both sides. Let excess batter drip off. (Use left hand)
Tightly pack the cutlet with panko. Press down firmly so that the panko can stick on.


Test the oil temp. If you don't have a thermometer, drop a bit of the batter into the oil. The batter should sink to the middle for half a second and pop right up to the top sizzling. If you have a thermometer, aim for 180C/ 355F. The oil temperature is slightly higher than your average frying temperature at this point because we're accounting for the meat to drop the temperature to around 176C / 350F.
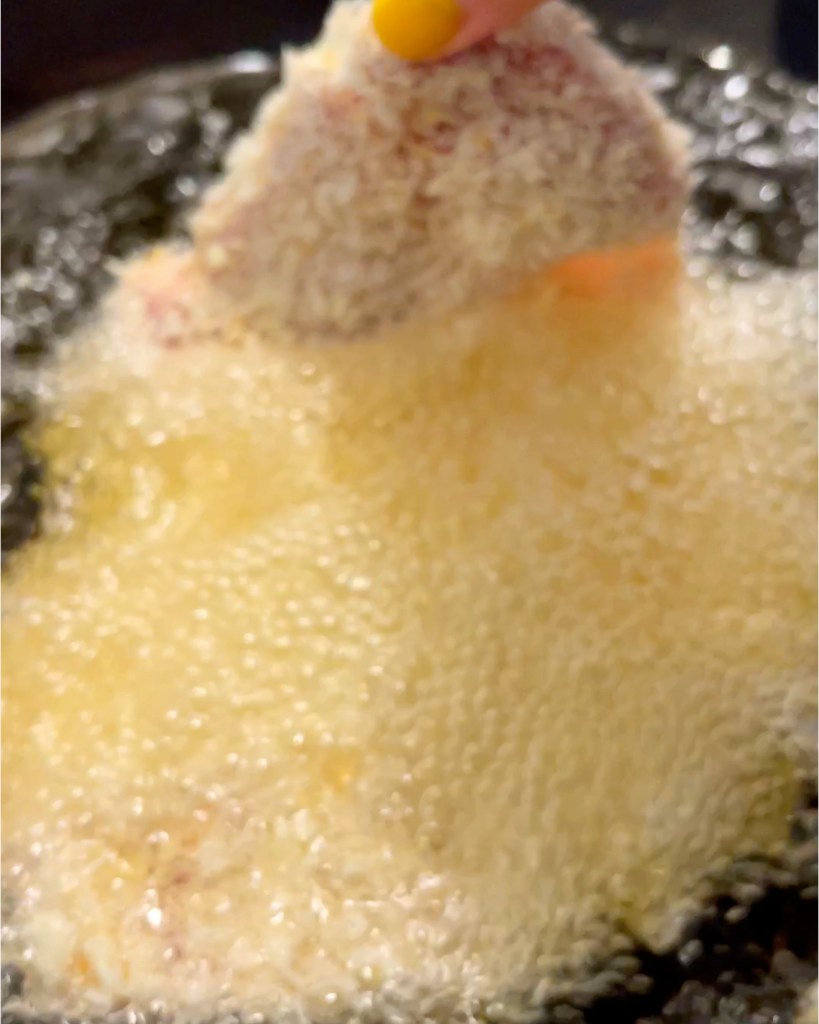
Gently drop the katsu away from your body so that the oil won't splatter on you.
Fry on each side for 2 minutes or until golden brown.
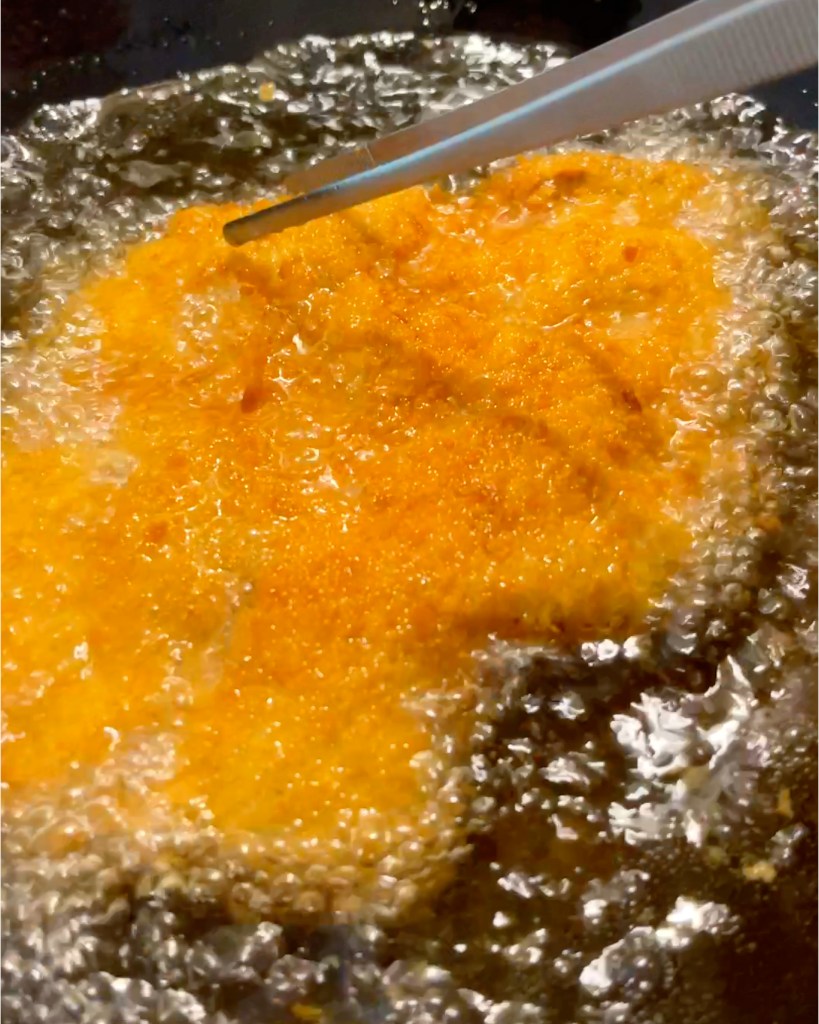
Crank the heat up high for the final 30 seconds before taking the katsu out on a wired baking tray.
Let the katsu rest. This resting process helps the meat absorb its juices and residual heat to make the katsu crispier.

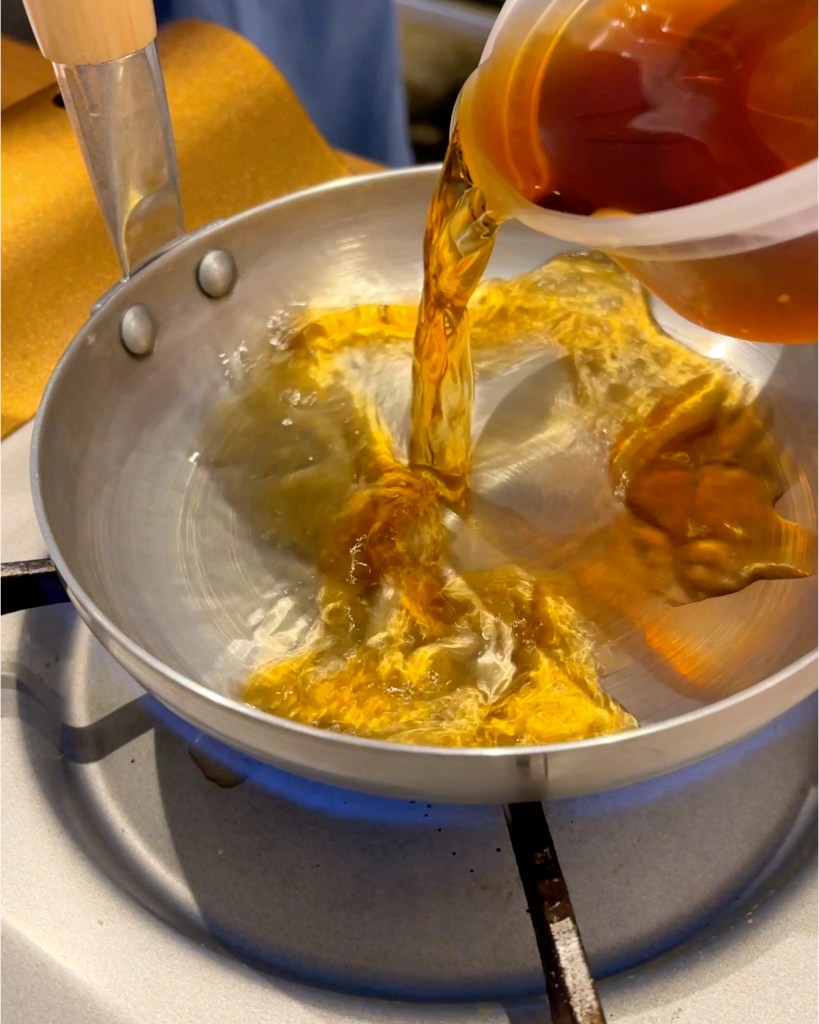
In a small nonstick pan or a donburi pan, add the sauce.
Heat on high until the sauce starts simmering.
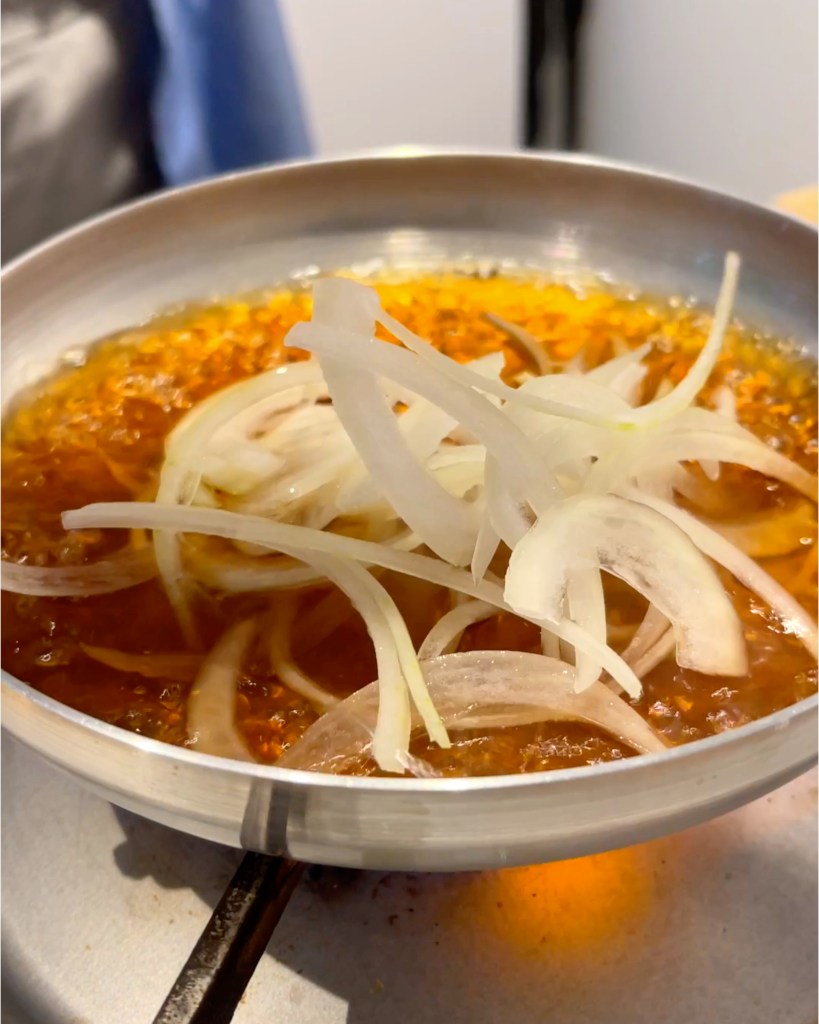
Add half of the sliced onions. Cook until the onions have turned slightly translucent.
Beat one egg. Do not overbeat as this will incorporate too much air.
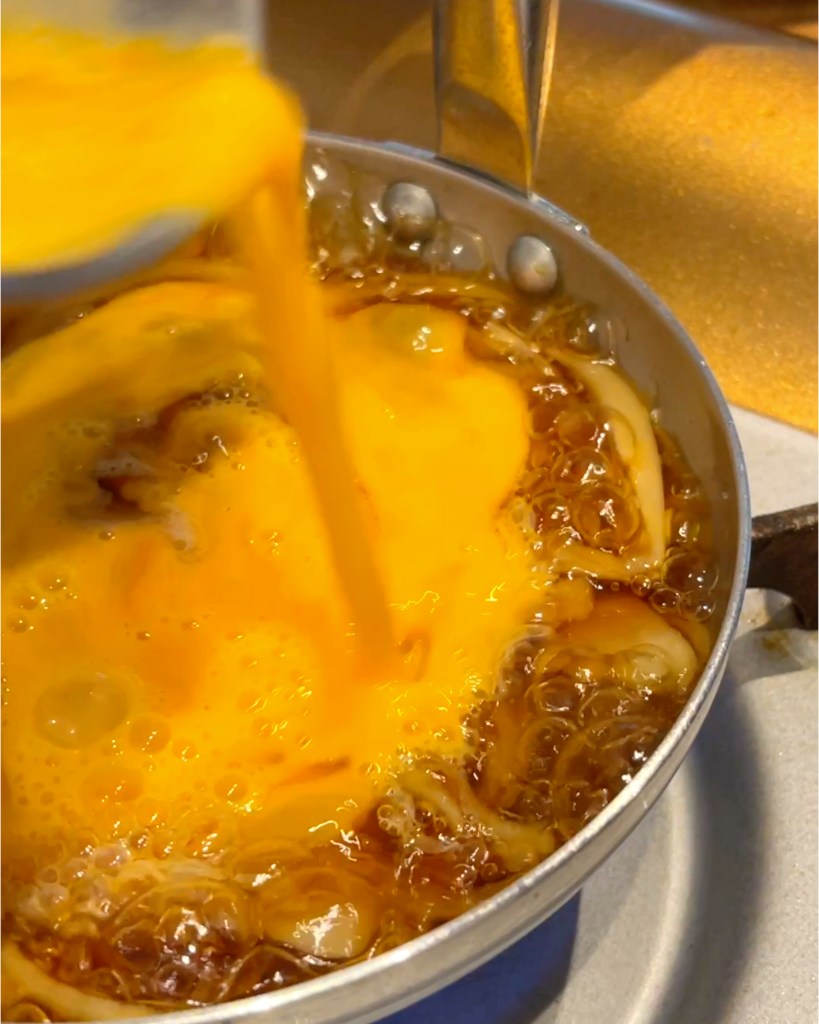
Drizzle in the egg mixture on top of the sauce in a circular motion, starting from the center.
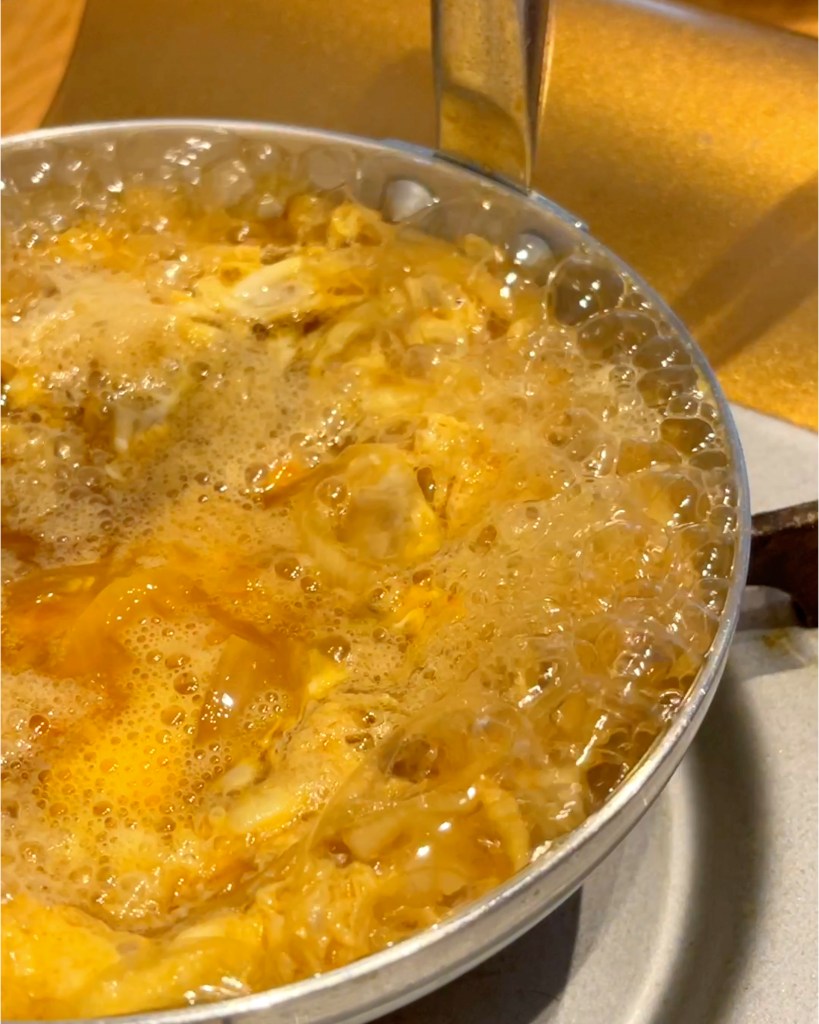
Cook the mixture for additional 30 seconds. Turn the heat off when the egg is still runny in the center. The residual heat will cook the egg.

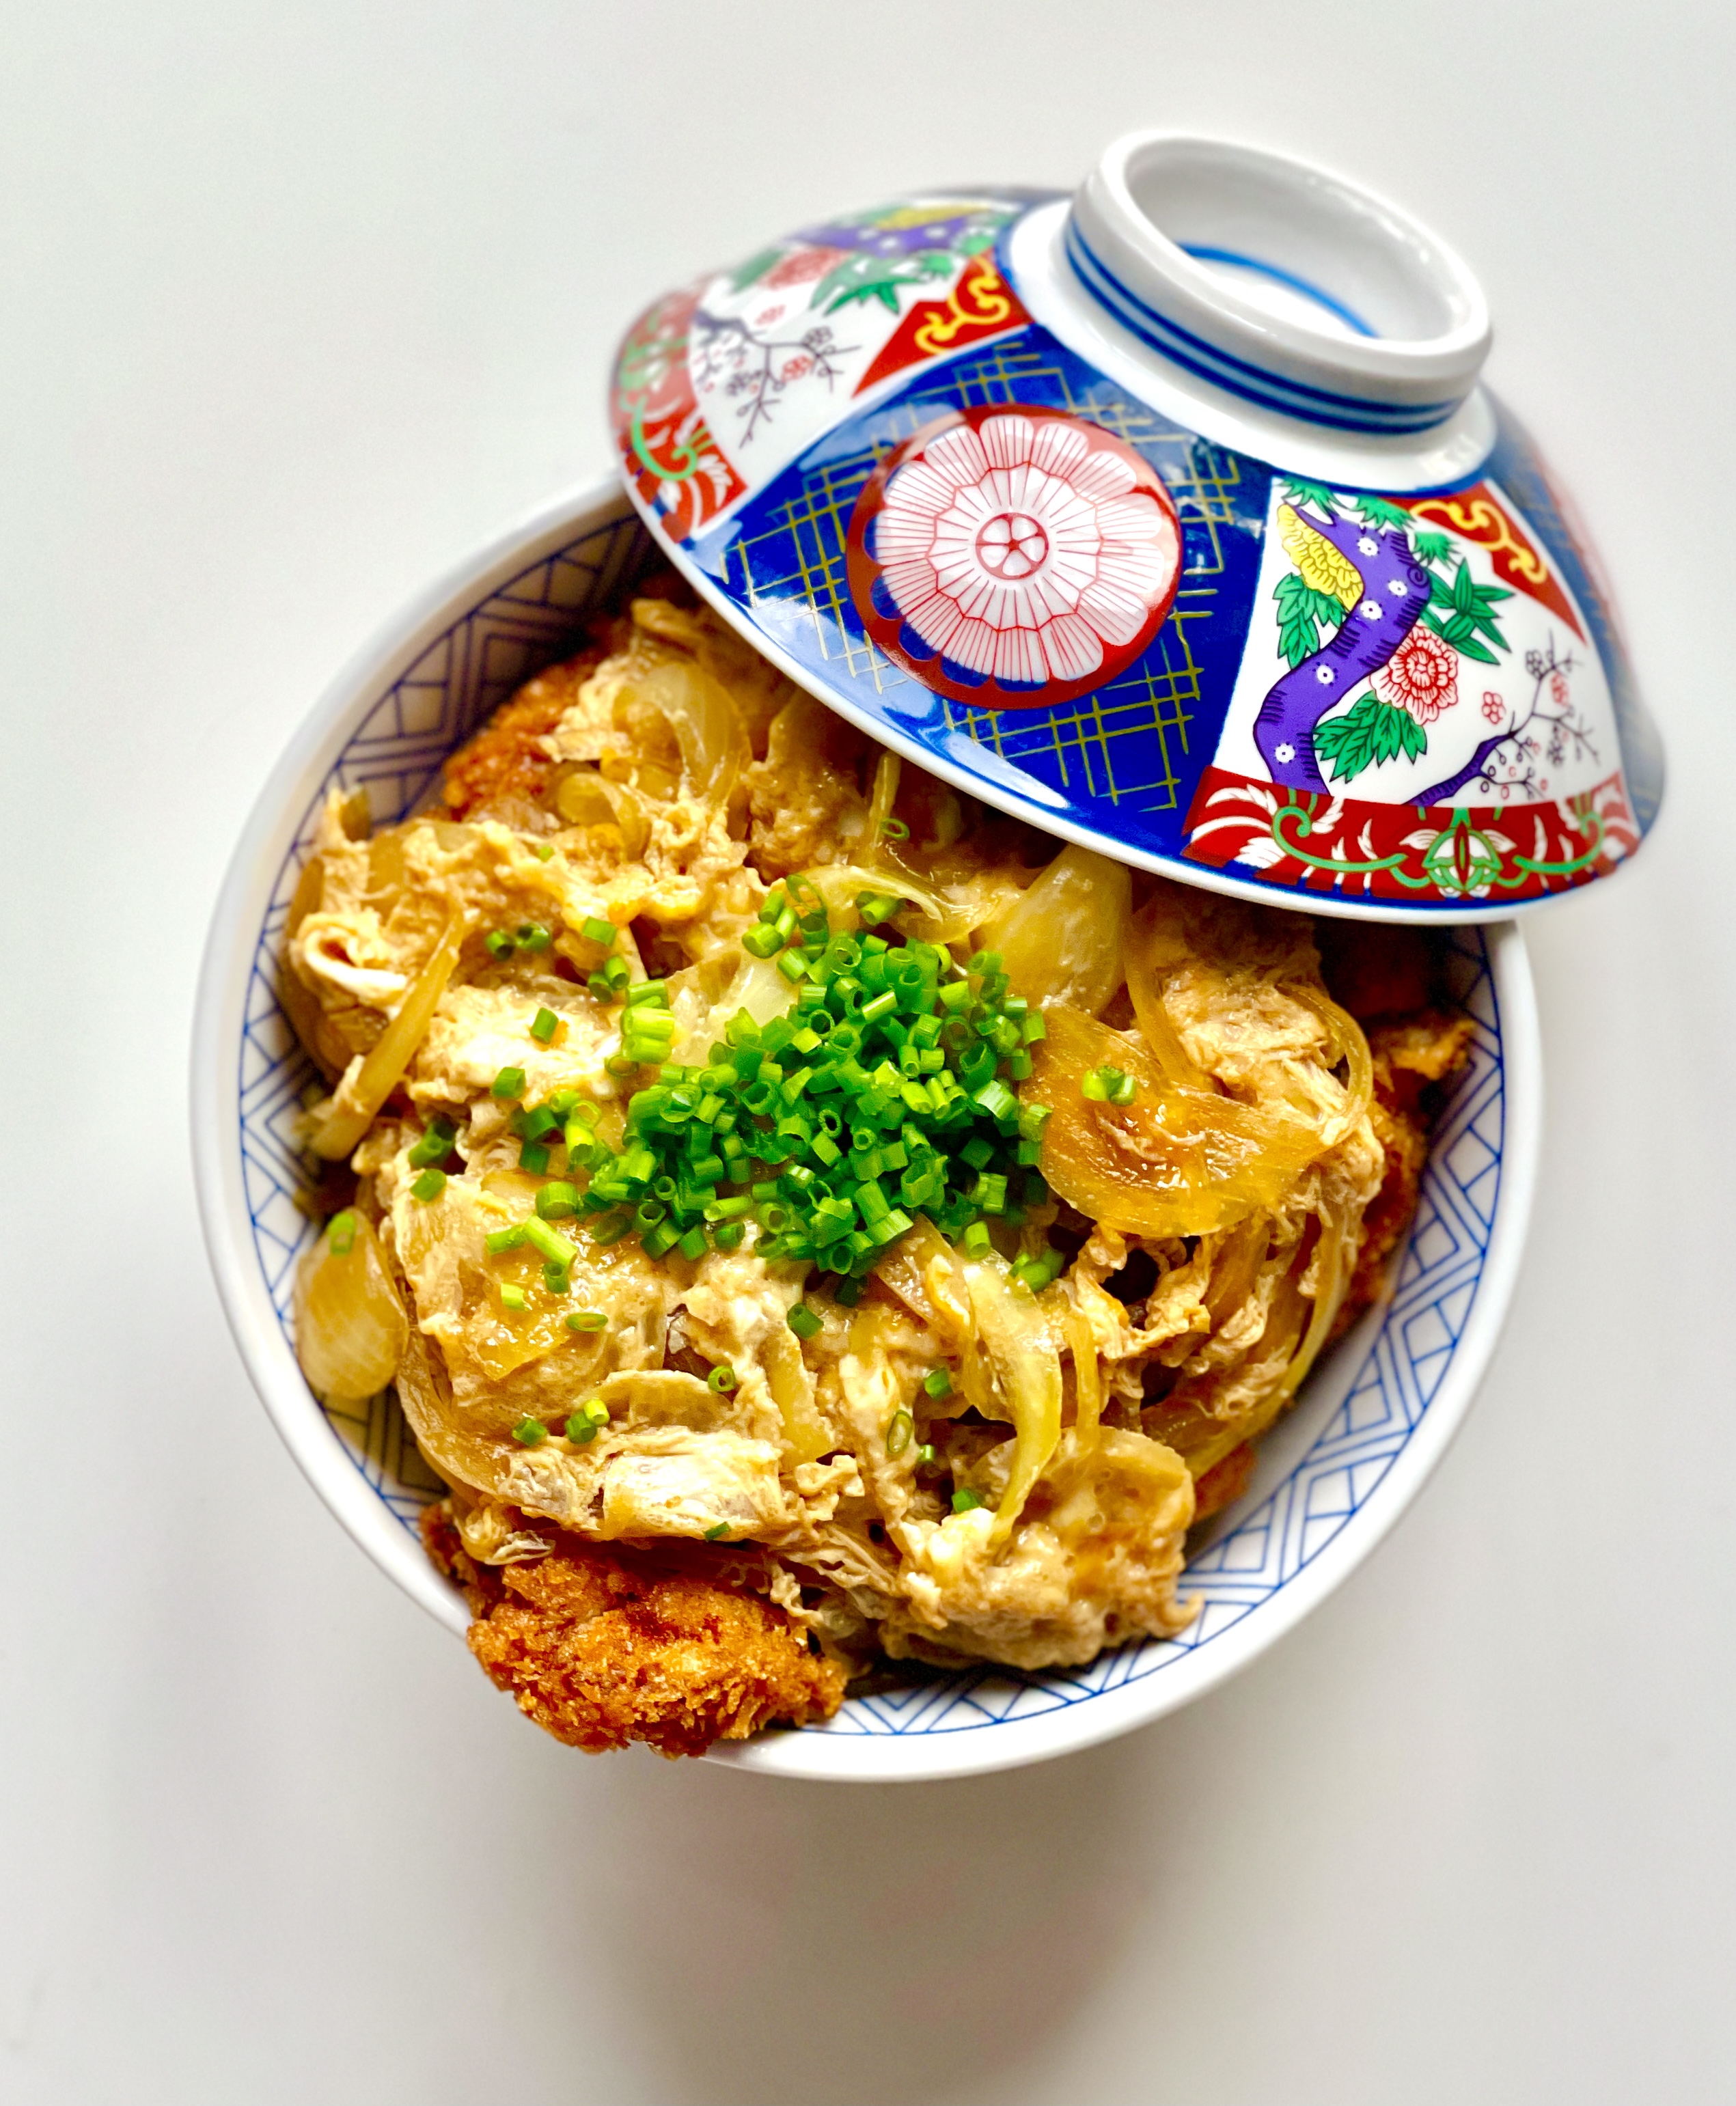
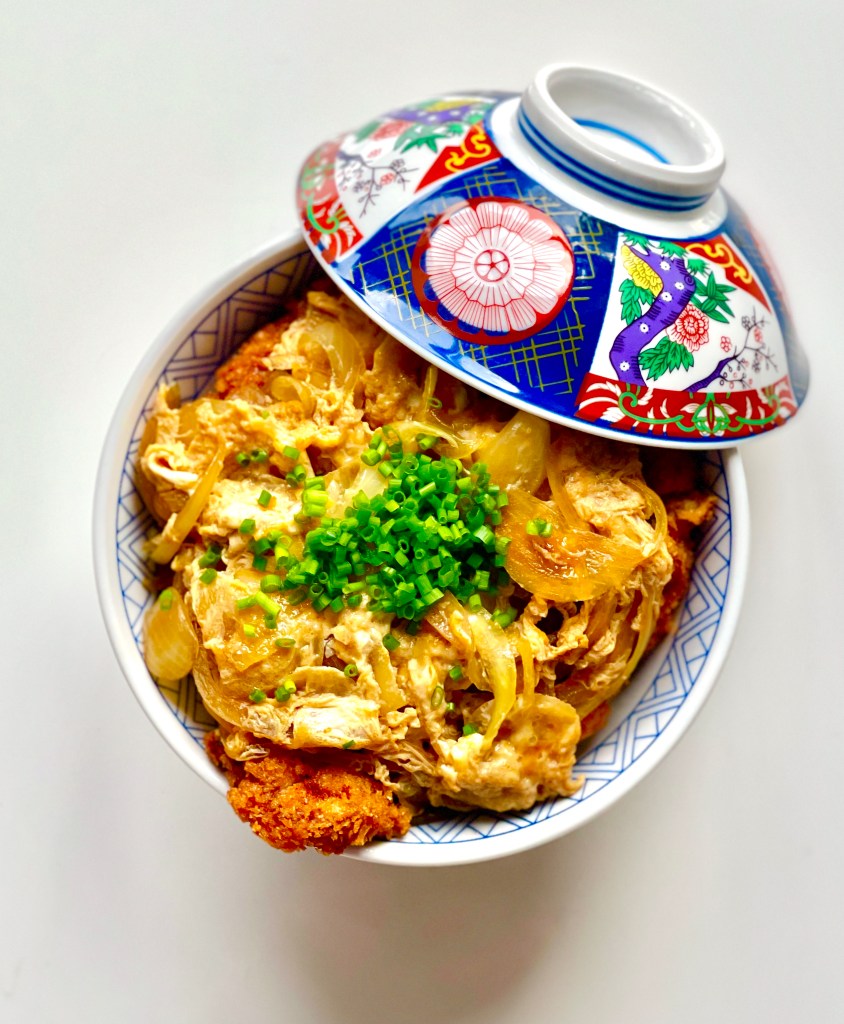
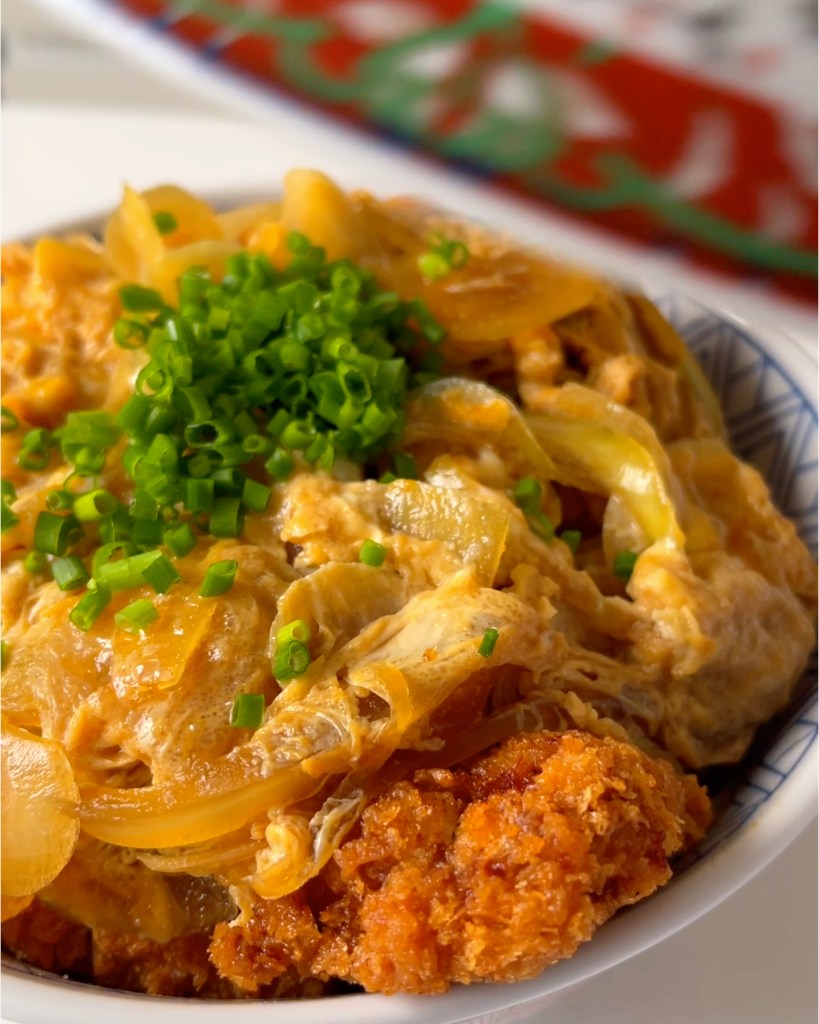
Cut the katsu into bite-sized pieces. Place on top of rice.
Gently pour the sauce on top.
Garnish with chives. Enjoy!


Katsudon
Course: AppetizersCuisine: JapaneseDifficulty: Easy2
servings15
minutes15
minutesKatsudon that's crispy and juicy at the same time. This recipe has a simple trick that can elevate the dish infinitely.
Ingredients
2 pork shoulder/loin steak or filleted chicken breast/thigh (150g)
1 white onion, thinly sliced
1 egg
2 cups cooked white rice
chives for garnish
1 cup AP flour
2 cups panko breadcrumbs
Neutral oil for frying
- Batter
½ cup AP flour
½ cup water
1 egg
1 tsp salt
- **Sauce
1 cup stock (dashi, chicken, veggie all works!)
2 tbsp sake
2 tbsp mirin
2 tbsp soy sauce
2 tbsp sugar
instructions
- Pat the meat down with a kitchen towel.
- Using the back of your knife or a meat hammer, tenderize the meat. Aim for the meat to be in even thickness to ensure that the katsu cooks evenly.
- Season the meat with a generous amount of kosher salt and pepper.
- Prepare the assembly line: pour flour into a rimmed baking tray, batter in a bowl, and panko into a baking tray.
- Heat your oil on medium-high heat.
- Coat the meat in the flour. Make sure to get every side coated. Dust off any excess flour. (Use right hand)
- Drop the floured meat into the batter. Coat both sides. Let excess batter drip off. (Use left hand)
- Tightly pack the cutlet with panko. Press down firmly so that the panko can stick on.
- Test the oil temp. If you don't have a thermometer, drop a bit of the batter into the oil. The batter should sink to the middle for half a second and pop right up to the top sizzling. If you have a thermometer, aim for 180C/ 355F. The oil temperature is slightly higher than your average frying temperature at this point because we're accounting for the meat to drop the temperature to around 176C / 350F.
- Gently drop the katsu away from your body so that the oil won't splatter on you.
- Fry on each side for 2 minutes or until golden brown.
- Crank the heat up high for the final 30 seconds before taking the katsu out on a wired baking tray.
- Let the katsu rest. This resting process helps the meat absorb its juices and residual heat to make the katsu crispier.
- In a small nonstick pan or a donburi pan, add the sauce.
- Heat on high until the sauce starts simmering.
- Add half of the sliced onions. Cook until the onions have turned slightly translucent.
- Beat one egg. Do not overbeat as this will incorporate too much air.
- Drizzle in the egg mixture on top of the sauce in a circular motion, starting from the center.
- Cook the mixture for additional 30 seconds. Turn the heat off when the egg is still runny in the center. The residual heat will cook the egg.
- Cut the katsu into bite-sized pieces. Place on top of rice.
- Gently pour the sauce on top.
- Garnish with chives. Enjoy!
Recipe Video
Notes
- Most recipes call for the sliced katsu to go on top of the sauce and then the egg mixture poured on top. However, it defeats the purpose of deep frying the katsu as everything turns soggy. I love having a bit of textural difference to my katsu don with a bit of crunch still left to it. By pouring the sauce on top, the katsu will still retain its crispiness!
- Take out your katsu when it's golden brown, NOT dark golden brown. The residual heat and oil on the katsu will make it browner after you've taken it out of the oil.
- Cut your katsu decisively by pressing the knife down instead of a sawing motion. I slightly messed this up while filming, but this helps ensure that the batter does not come off.
Did you make this recipe?
Tag @doobydobap on Instagram and hashtag it #doobydobap dontyuckmyyum
Like this recipe?
Follow us @doobydobap on Pinterest
Recent recipes


Hi, I’m Tina aka Doobydobap!
Food is my medium to tell stories and connect with people who share the same passion. My recipes are a culmination of my experiences. I hope you enjoy recreating them at home, and if you do, make sure to tag me on Instagram!
Recent recipes
Hey Doobies, thanks for visiting! Join my mailing list for more delicious recipes and stories.

Comments